Users & Sign-in
Settings
Settings holds the preferences that apply to your own account only. Every signed-in user has it.
Where to find it:
| You are | Where Settings is |
|---|---|
| A Tenant Admin | At the bottom of the sidebar, next to Get Started and Logout. |
| Any other user | In the main sidebar list. |
| Anyone | In the menu under your name at the top right. |
Appearance
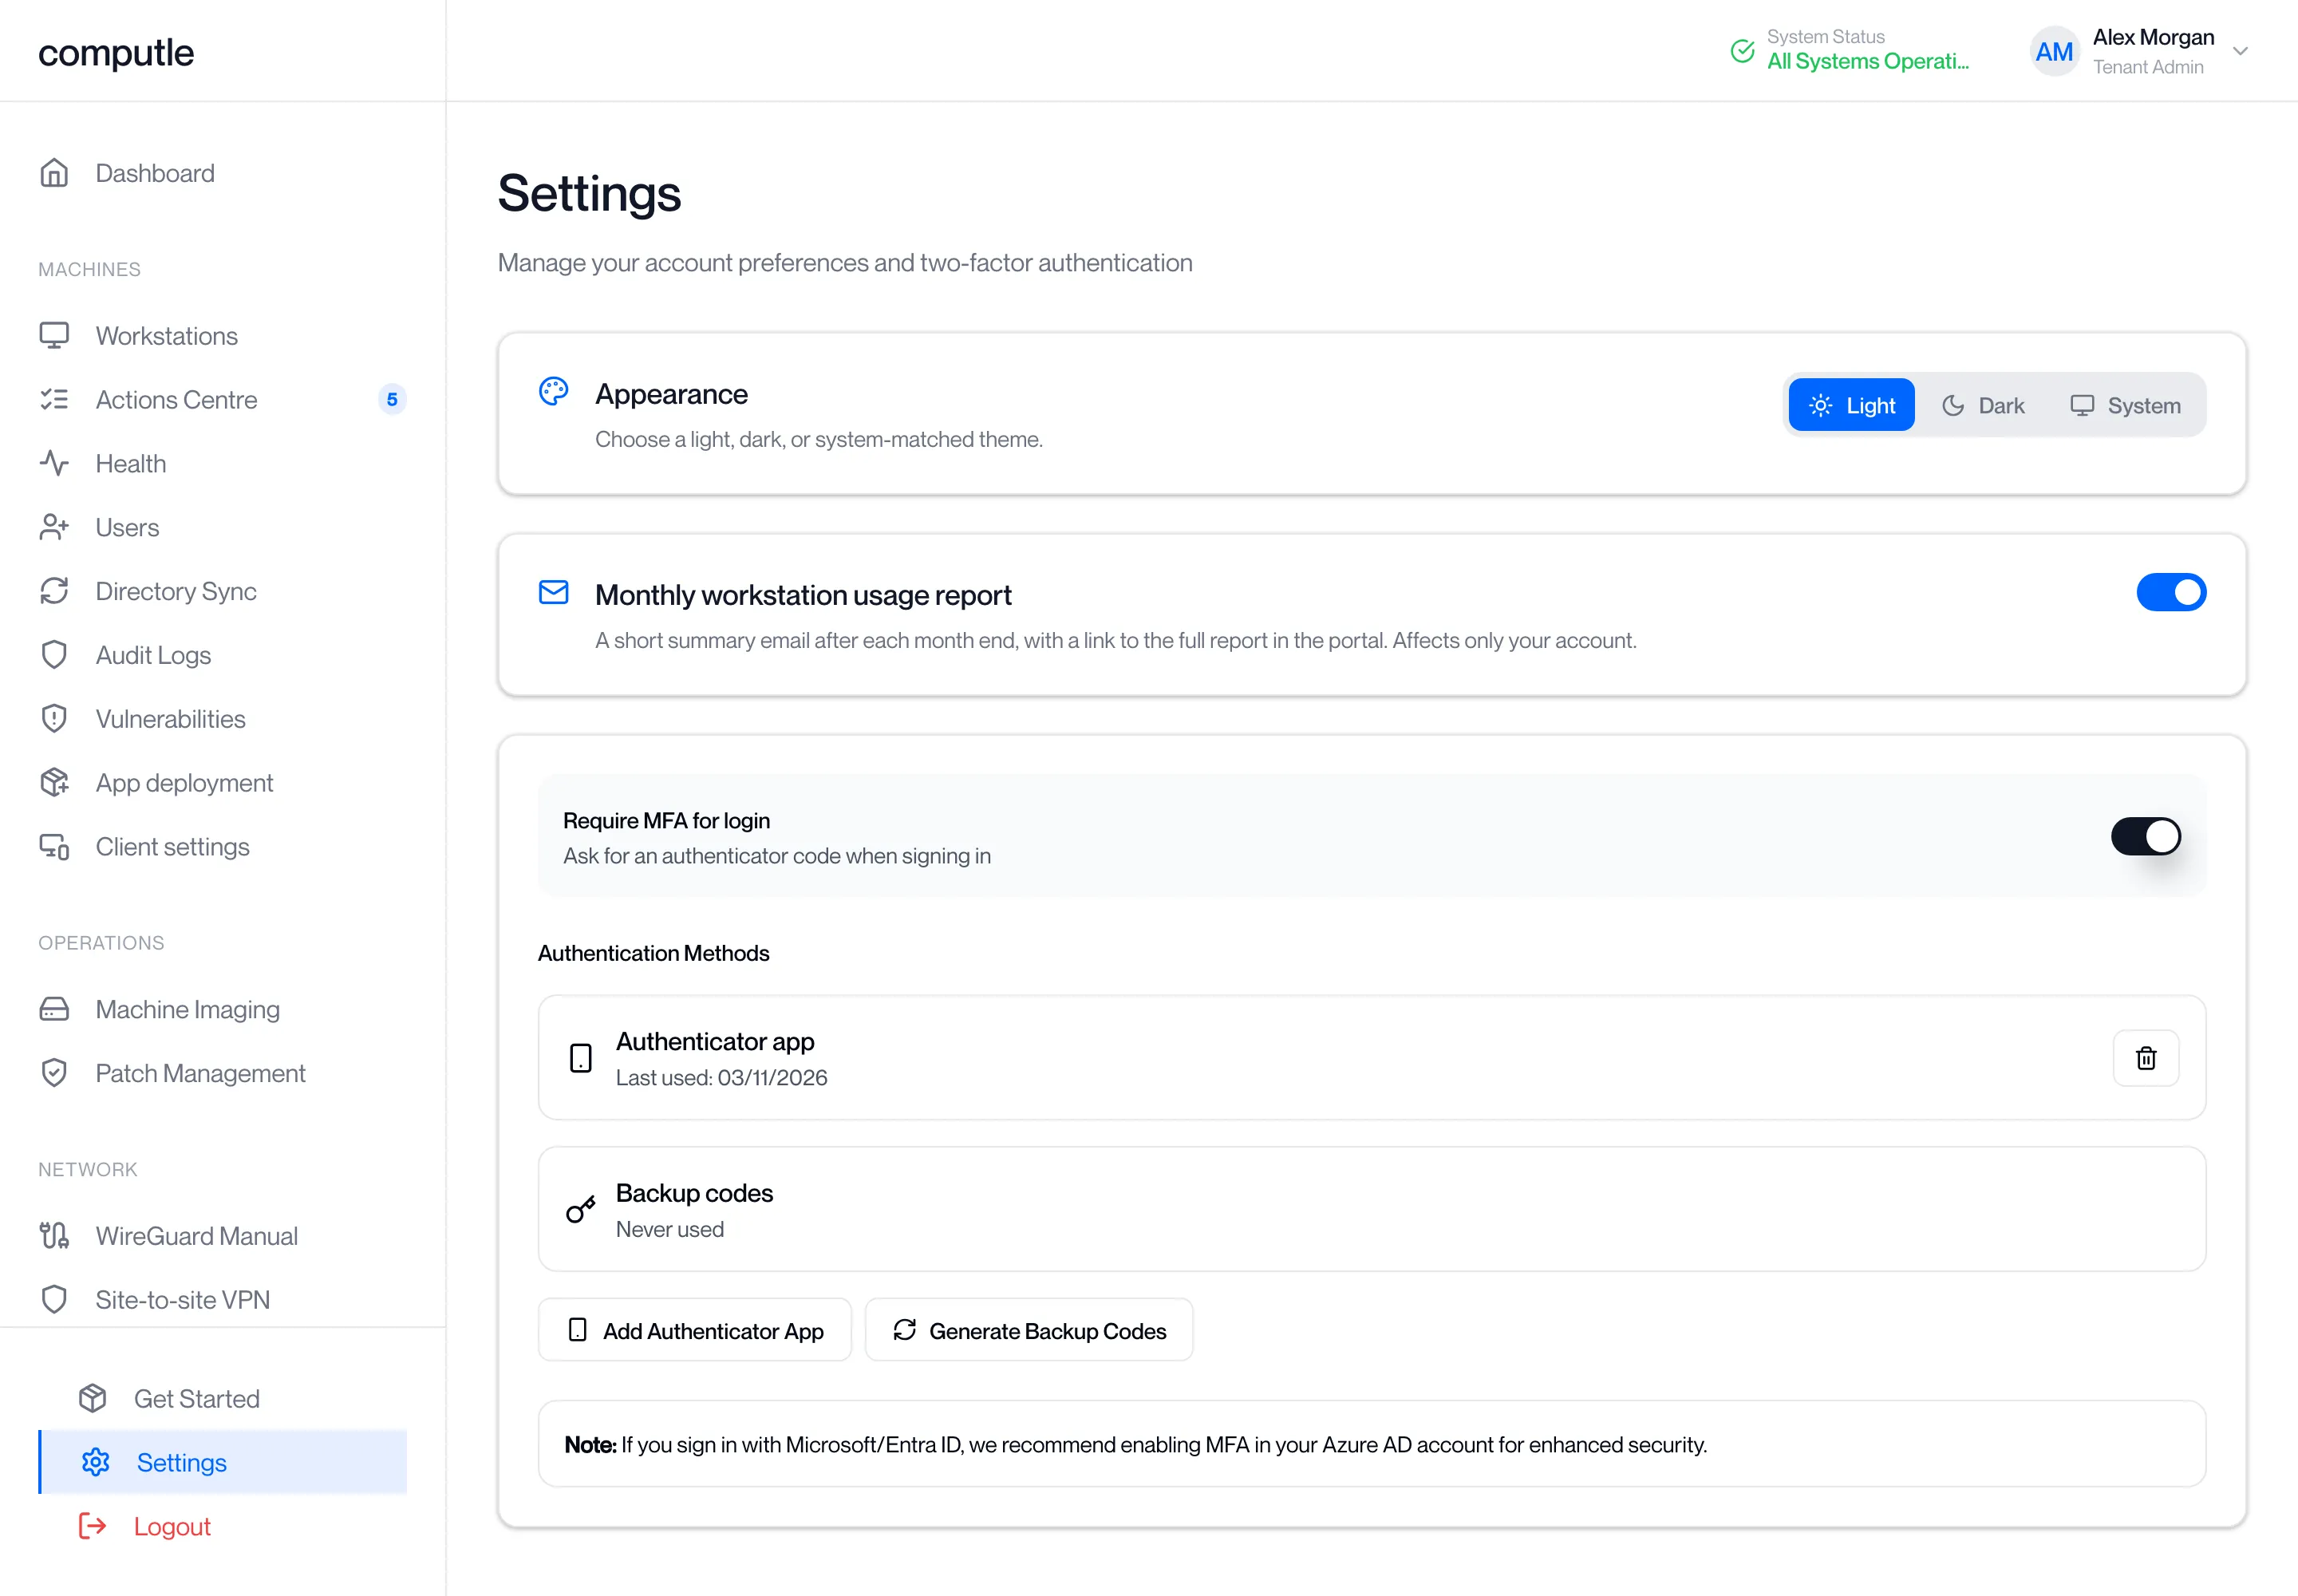
Section titled “Appearance”Choose Light, Dark or System. System follows the theme of the device you are using. The choice is saved in this browser.
Change the theme
Section titled “Change the theme”-
Open Settings.
The Appearance card reads “Choose a light, dark, or system-matched theme.”
-
Click Light, Dark or System on the card.
The portal changes at once; there is no Save button. The choice is kept on this browser only, so set it again on another device.
Monthly workstation usage report
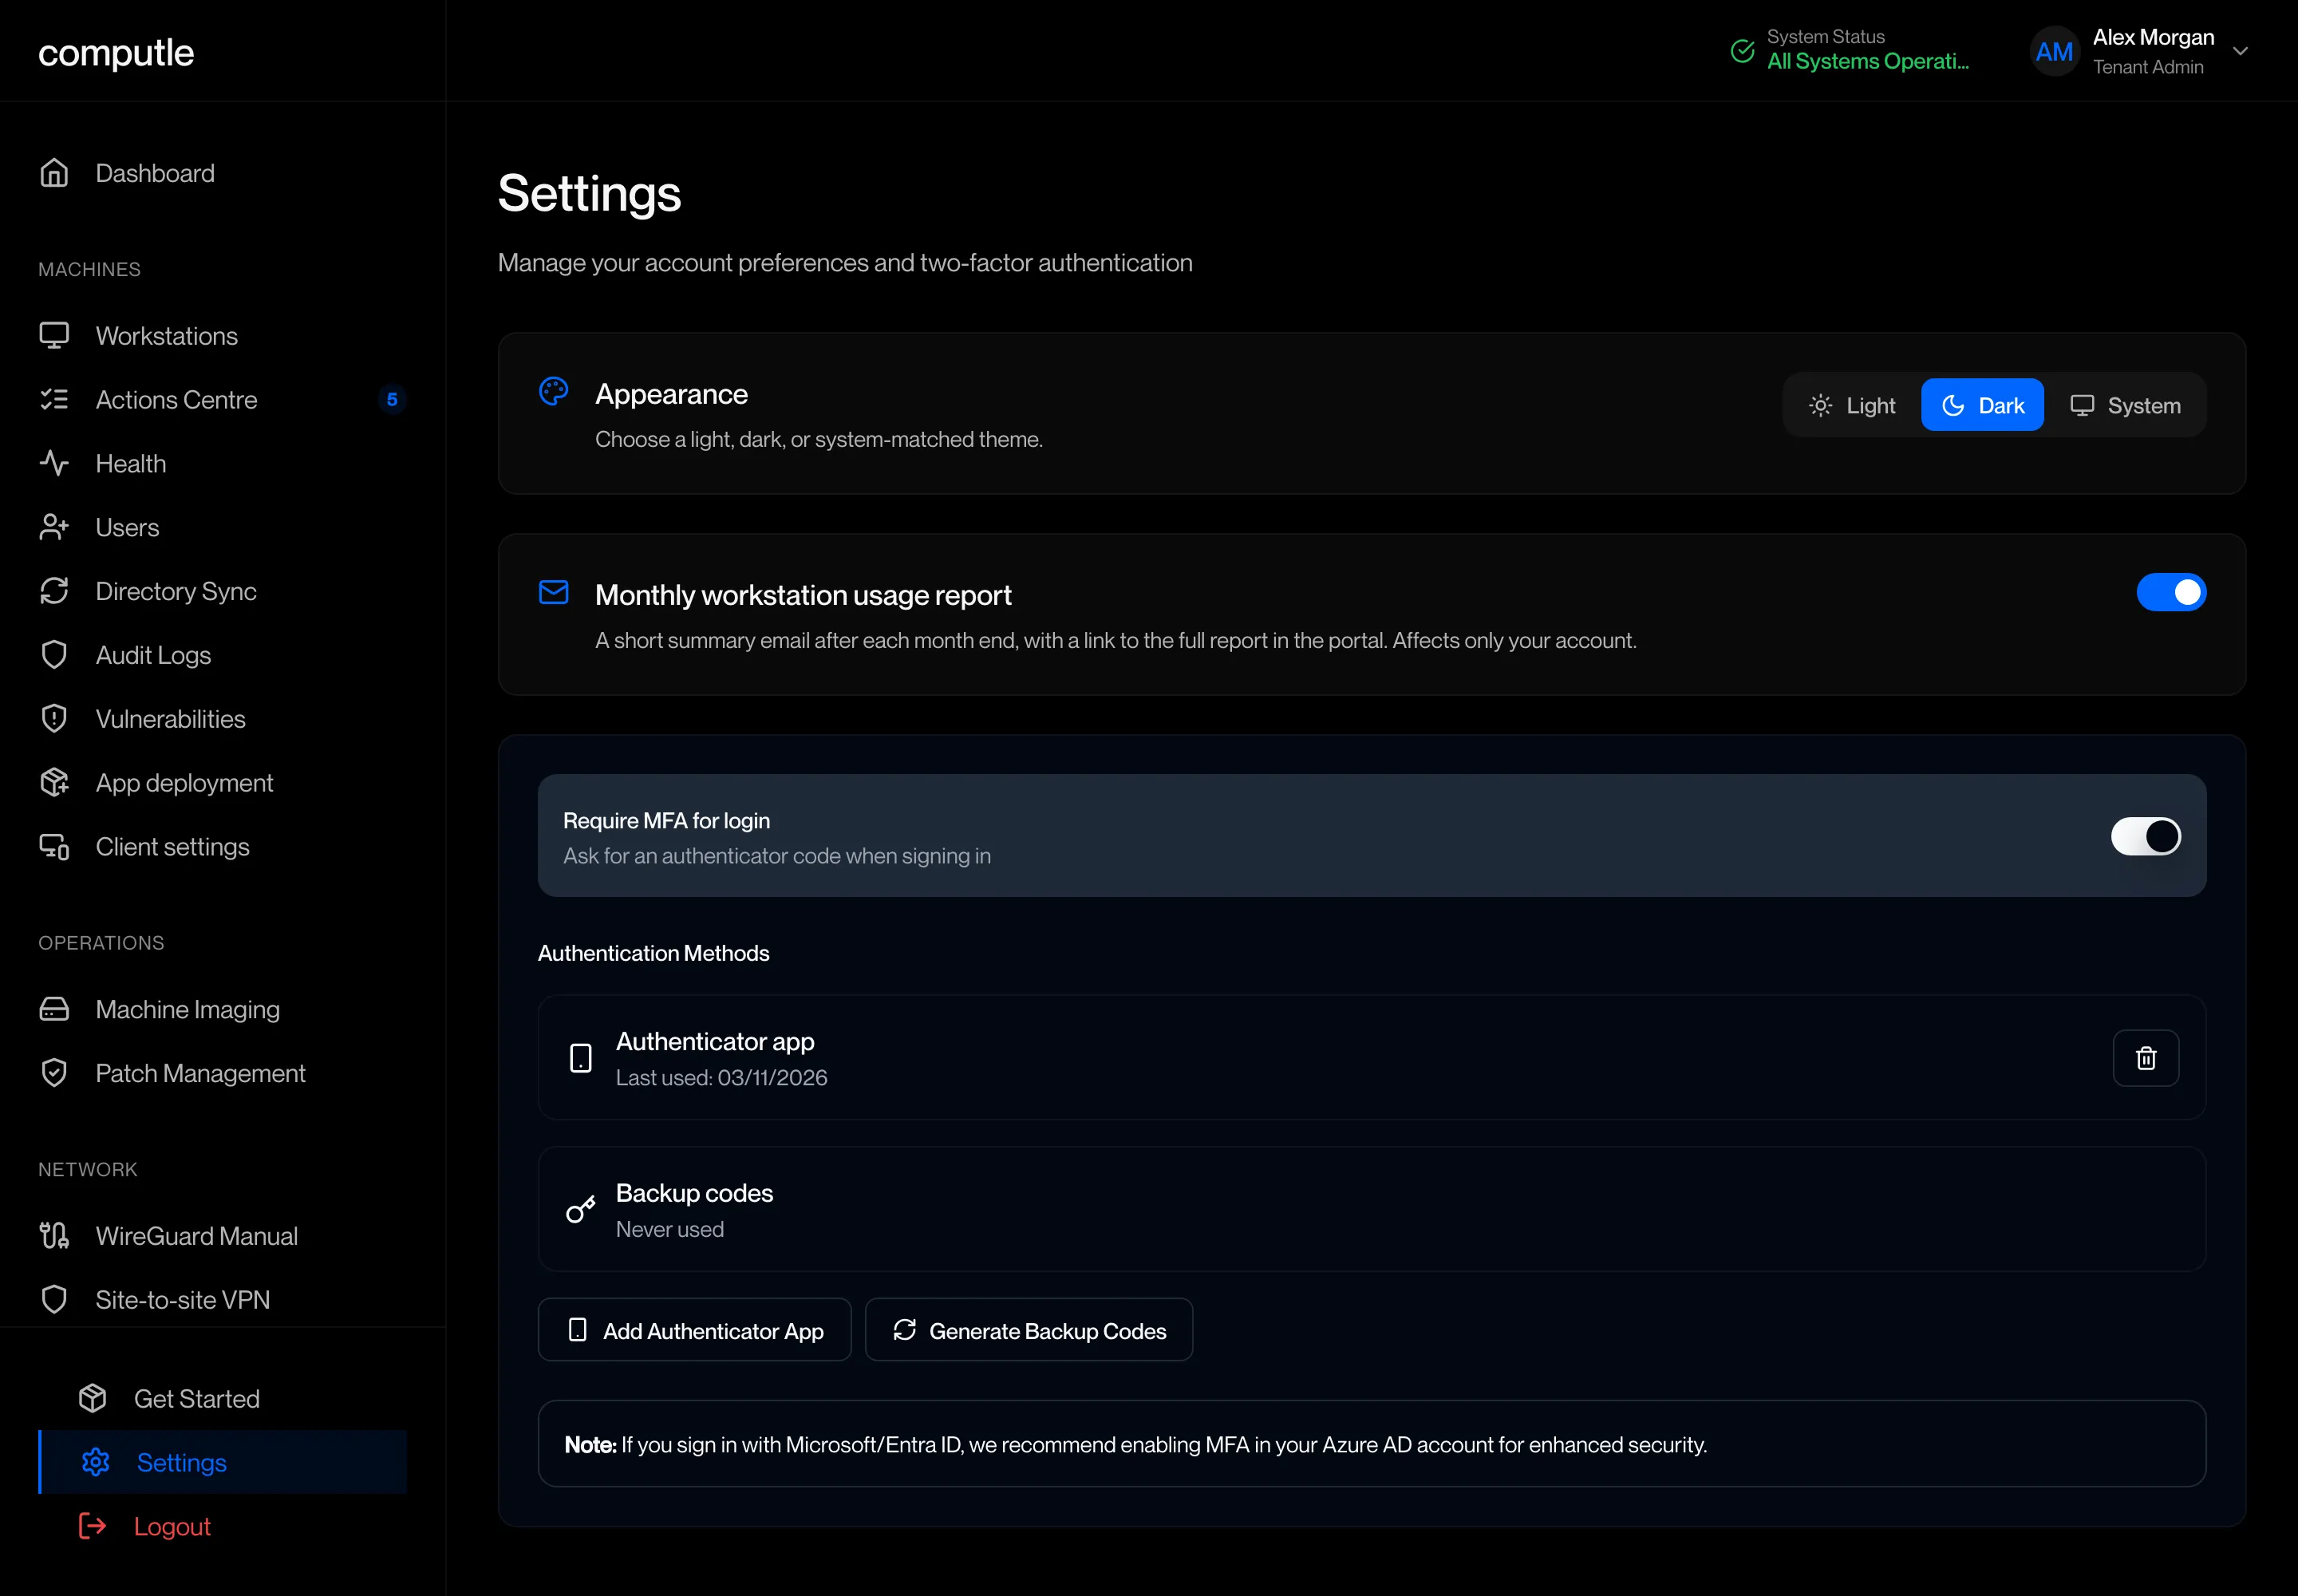
Section titled “Monthly workstation usage report”Shown to Tenant Admins only. The switch controls whether you receive “A short summary email after each month end, with a link to the full report in the portal.” It is on by default and affects only your account; other administrators keep their own setting.
The portal confirms “Monthly usage report emails on” or “Monthly usage report emails off”. “Could not update preference” means the change was not saved; try again.
Turn the monthly email off or on
Section titled “Turn the monthly email off or on”-
Open Settings and find the Monthly workstation usage report card.
-
Click the switch.
The portal confirms “Monthly usage report emails off” or “Monthly usage report emails on”. The change applies from the next month end.

The report itself is described in Usage Report.
Two-factor authentication
Section titled “Two-factor authentication”The last card manages an authenticator app for your portal account. The portal calls this MFA.
| Control | What it does |
|---|---|
| Require MFA for login | When on, the portal asks for an authenticator code when you sign in. The switch stays off until you have added an authenticator app. If it reads “Your administrator requires this setting.” the switch is locked on and cannot be changed here. |
| Authentication Methods | Each authenticator app and the backup codes you hold, with “Last used” or “Never used”. The bin icon removes an authenticator app. Backup codes cannot be removed. |
| Add Authenticator App | Starts the set-up below. |
| Generate Backup Codes | Shown once you have an authenticator app. Issues a new set and asks “This will invalidate your existing backup codes. Continue?” |
Until you add a method the card shows “You haven’t set up any MFA methods yet. Add an authenticator app to get started.”
Add an authenticator app
Section titled “Add an authenticator app”-
Click Add Authenticator App.
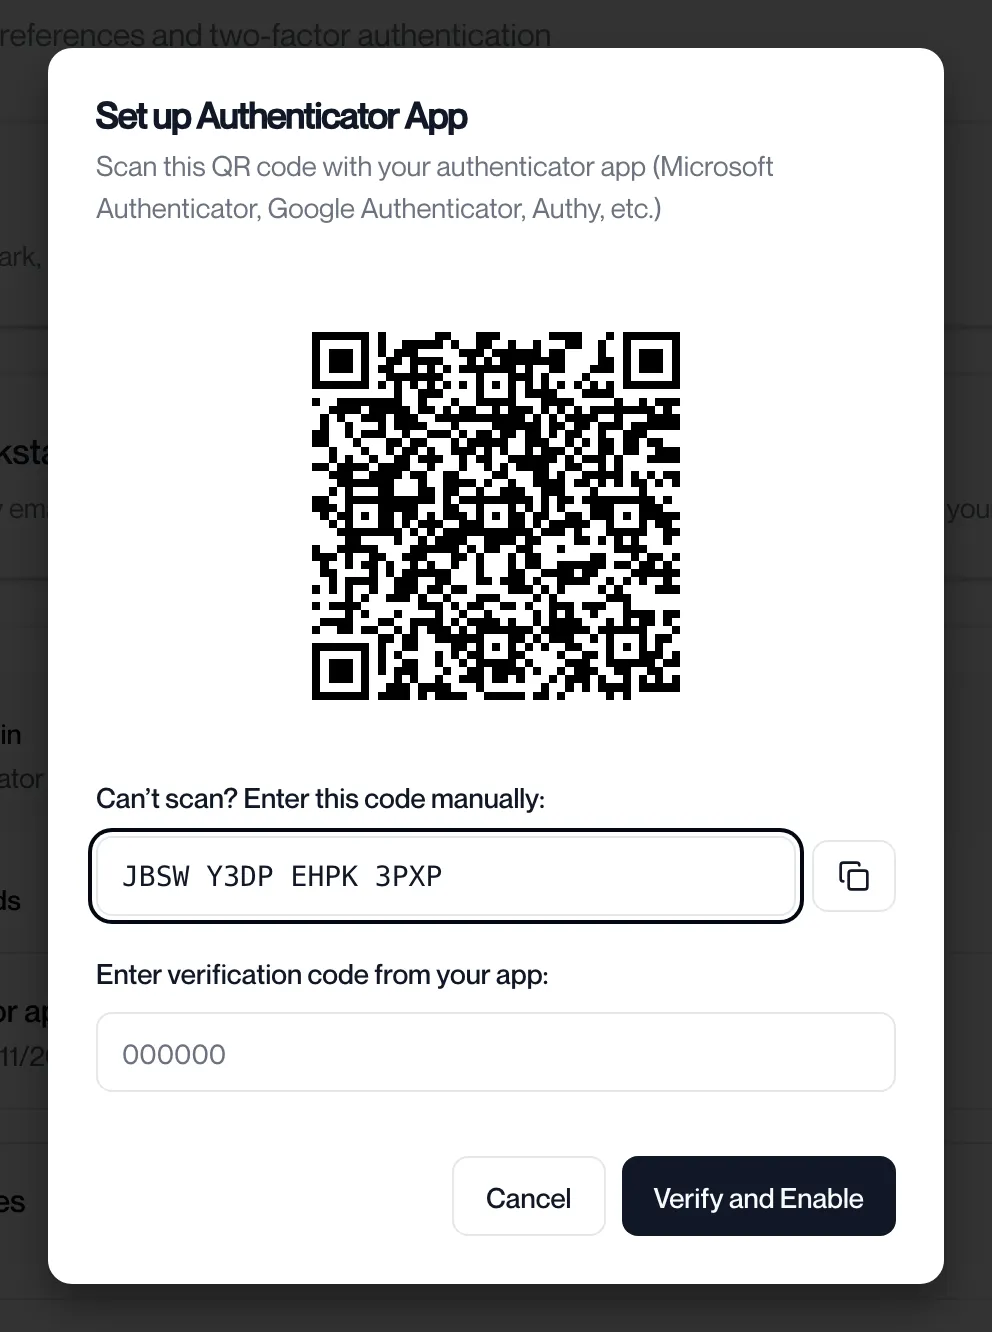
The Set up Authenticator App dialog opens with a QR code.
-
Scan the QR code with your authenticator app.
If you cannot scan, copy the key under “Can’t scan? Enter this code manually:” and add it in the app by hand.
-
Enter the six-digit code from the app and click Verify and Enable.
The portal shows “Authenticator app enabled successfully” and opens the Backup Codes dialog.
-
Save the backup codes.
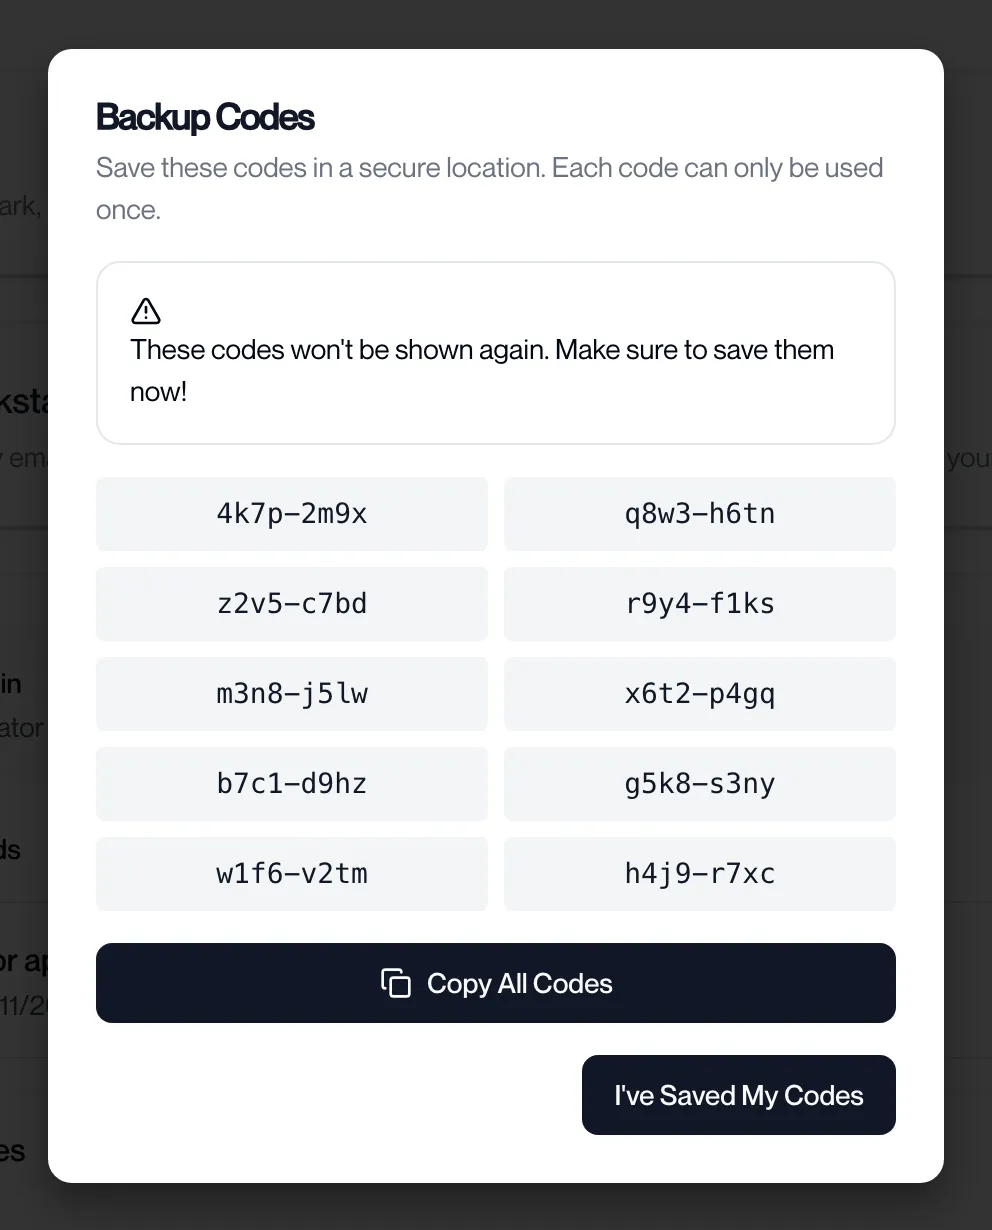
“Each code can only be used once.” and “These codes won’t be shown again.” Click Copy All Codes, store them somewhere safe, then click I’ve Saved My Codes.
-
Turn on Require MFA for login.
The portal shows “MFA requirement enabled”.
| Message | What to do |
|---|---|
| “Enter the six-digit code from your authenticator app.” | The code must be exactly six digits. |
| “The code could not be verified. Check it and try again.” | Wait for the app to show a fresh code and enter that one. |
| “The authenticator setup could not be opened. Please try again.” | Try again. If it repeats, contact your account manager. |
| “Security settings could not be loaded.” | Click Try again. |
| “Are you sure you want to remove this MFA method?” | Confirming removes that authenticator app. The portal shows “MFA method removed”. |
Generate new backup codes
Section titled “Generate new backup codes”Use this when you have used most of your codes, or lost the list.
-
Click Generate Backup Codes.
The browser asks “This will invalidate your existing backup codes. Continue?” Click OK. The old codes stop working as soon as the new set is issued.
-
Save the new codes.
The Backup Codes dialog opens with the new set. Click Copy All Codes; the portal shows “Copied to clipboard”. Store them somewhere safe, then click I’ve Saved My Codes.
If the codes cannot be issued the card shows “Backup codes could not be generated. Please try again.” If the copy fails it shows “Select the codes and copy them to a safe place.”
Remove an authenticator app
Section titled “Remove an authenticator app”Use this before you change phones, after adding the new phone as a second app.
-
Under Authentication Methods, click the bin icon next to the app.
The browser asks “Are you sure you want to remove this MFA method?” Click OK.
-
The portal shows “MFA method removed”.
The app disappears from the list. If it was your only method, the Require MFA for login switch is greyed out until you add another app. If the removal fails the card shows “The authenticator could not be removed. Please try again.”
The card also notes that if you sign in with your Microsoft work account, Computle recommends enabling MFA on that Microsoft account.
Related pages
Section titled “Related pages”Questions
Section titled “Questions”I lost my phone. How do I sign in?
Section titled “I lost my phone. How do I sign in?”Use one of your backup codes in place of the authenticator code. Then open Settings, remove the old authenticator app and add a new one. If you have no backup codes, contact your account manager.
Does Require MFA for login apply to everyone in my organisation?
Section titled “Does Require MFA for login apply to everyone in my organisation?”No. It applies to your own account.
Why does the switch do nothing?
Section titled “Why does the switch do nothing?”It is disabled until you have added an authenticator app, and locked when your administrator requires MFA.