Connection Figures
The F3 overlay and what each figure means. Open
The Session Menu
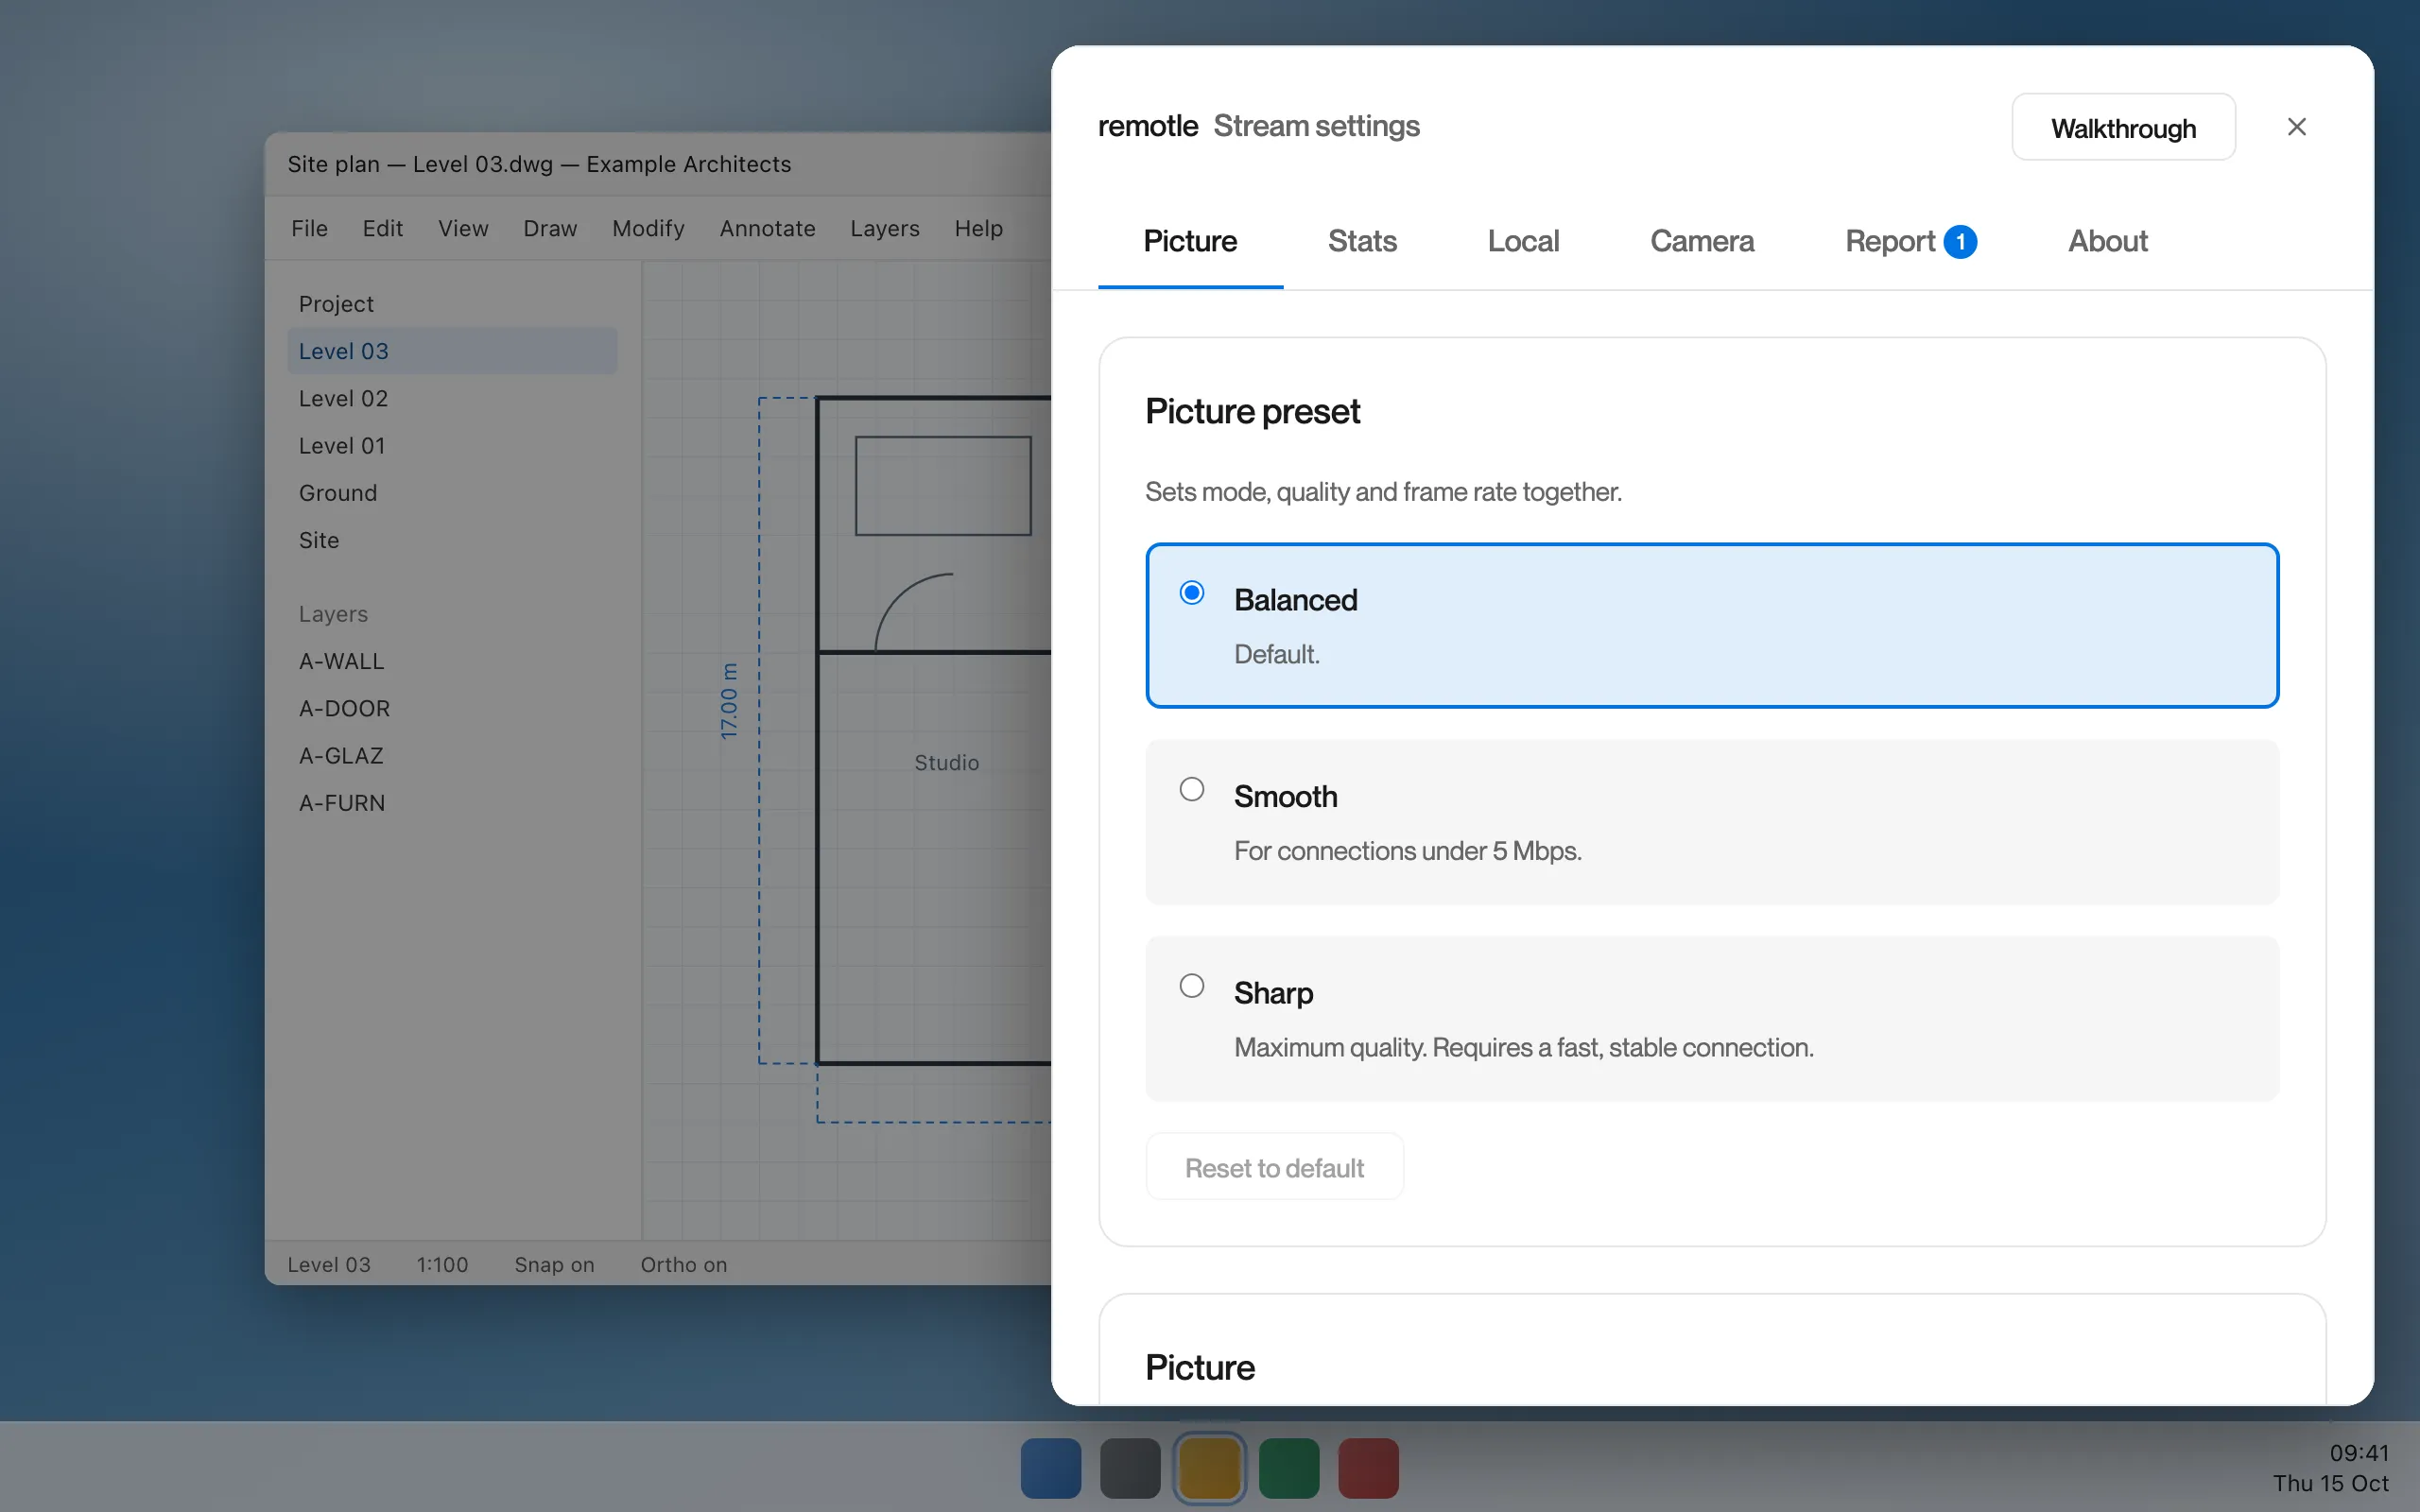
The session menu is the one place for everything you change during a session: picture quality, connection statistics, settings for the device you are on, your camera and microphone, and reporting a problem. Its title bar reads Stream settings.
Settings you change here apply at once to the running session. Picture settings are saved on your workstation, so every device you connect from gets the same picture. Settings under Local are saved on the device you are using.
Find the half circle at the top of the screen.
In full screen a faint half circle sits at the top edge. It stays faint so it does not get in the way, and darkens when your pointer is over it.


Click the half circle, or press F2.
In a window on Windows and Linux, you can also open the Settings menu at the top and choose Stream Settings…. On a Mac it is on the Settings menu in the menu bar.
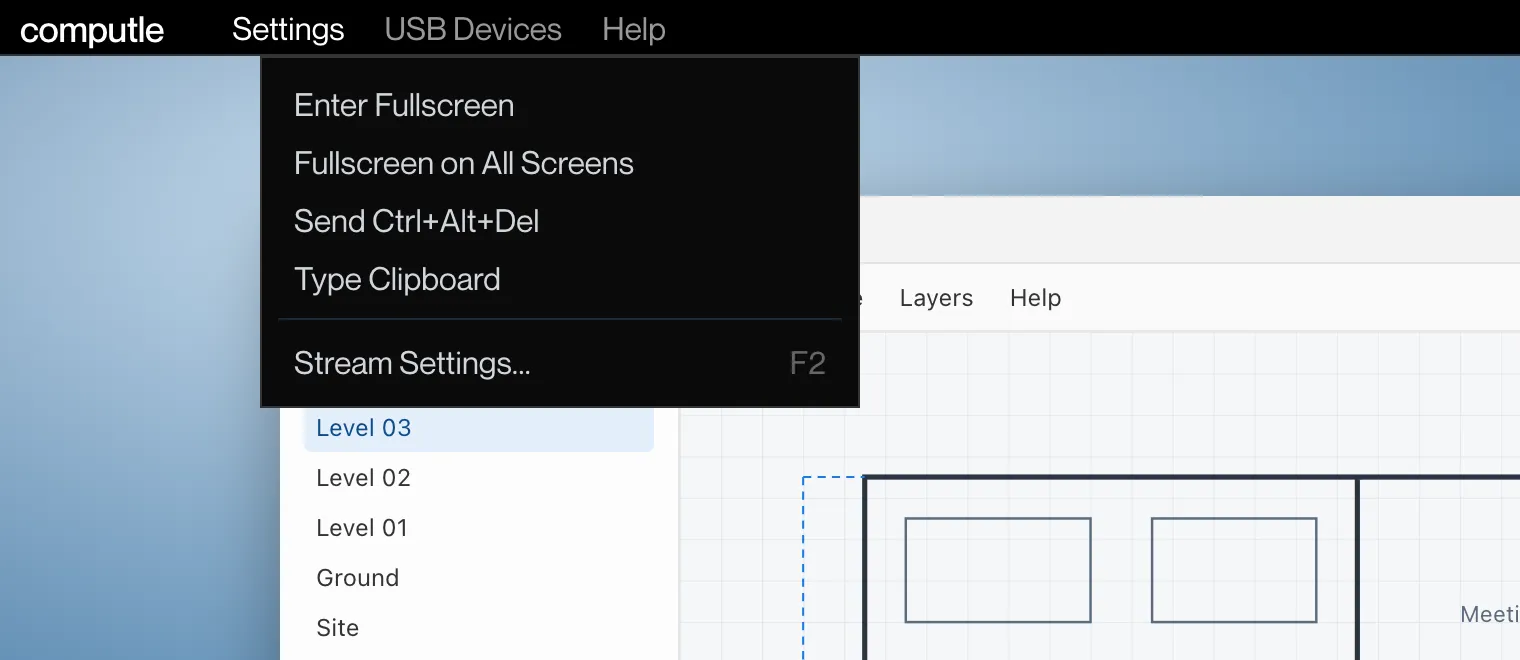
The menu opens over your desktop.
It is a panel in the top-right corner of the stream window, 700 pixels wide, with the tabs Picture, Stats, Local, Camera, Report and About. The desktop behind it dims and your typing goes to the menu until you close it.
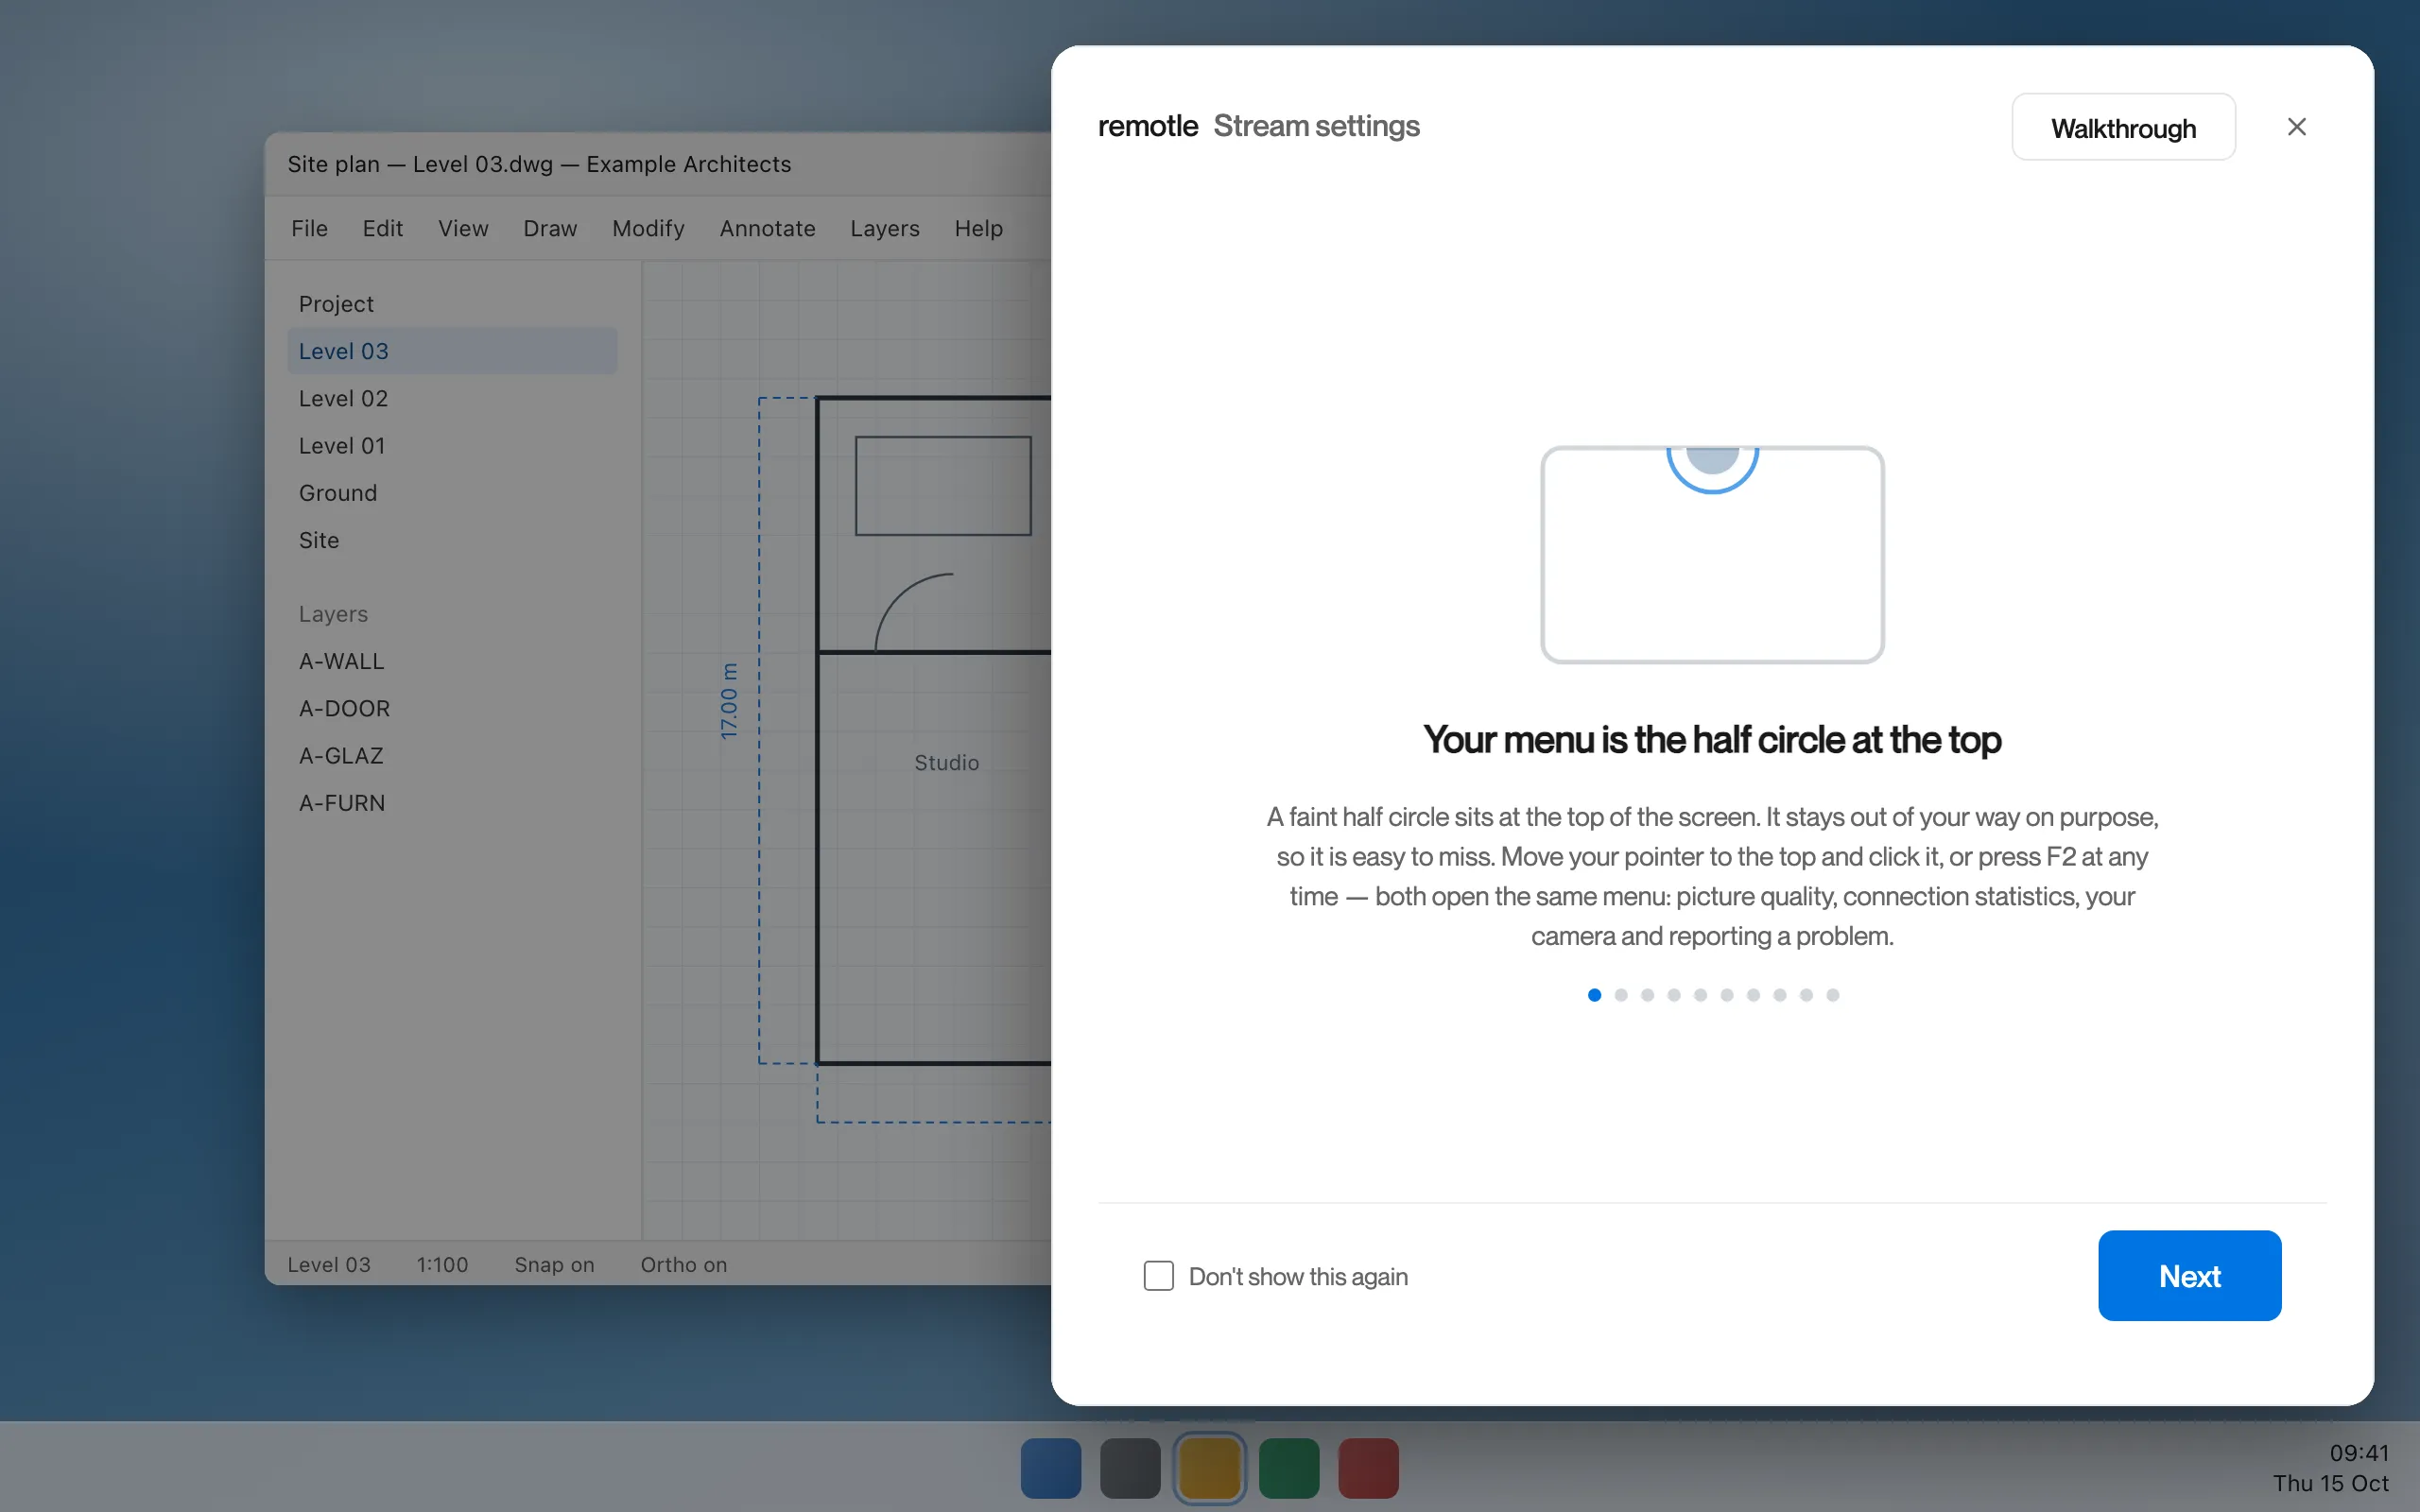
The first time, read the walkthrough.
On your first session from a device the menu opens on a short walkthrough instead of the Picture tab. Click Next to read it, or tick Don’t show this again. See Walkthrough.
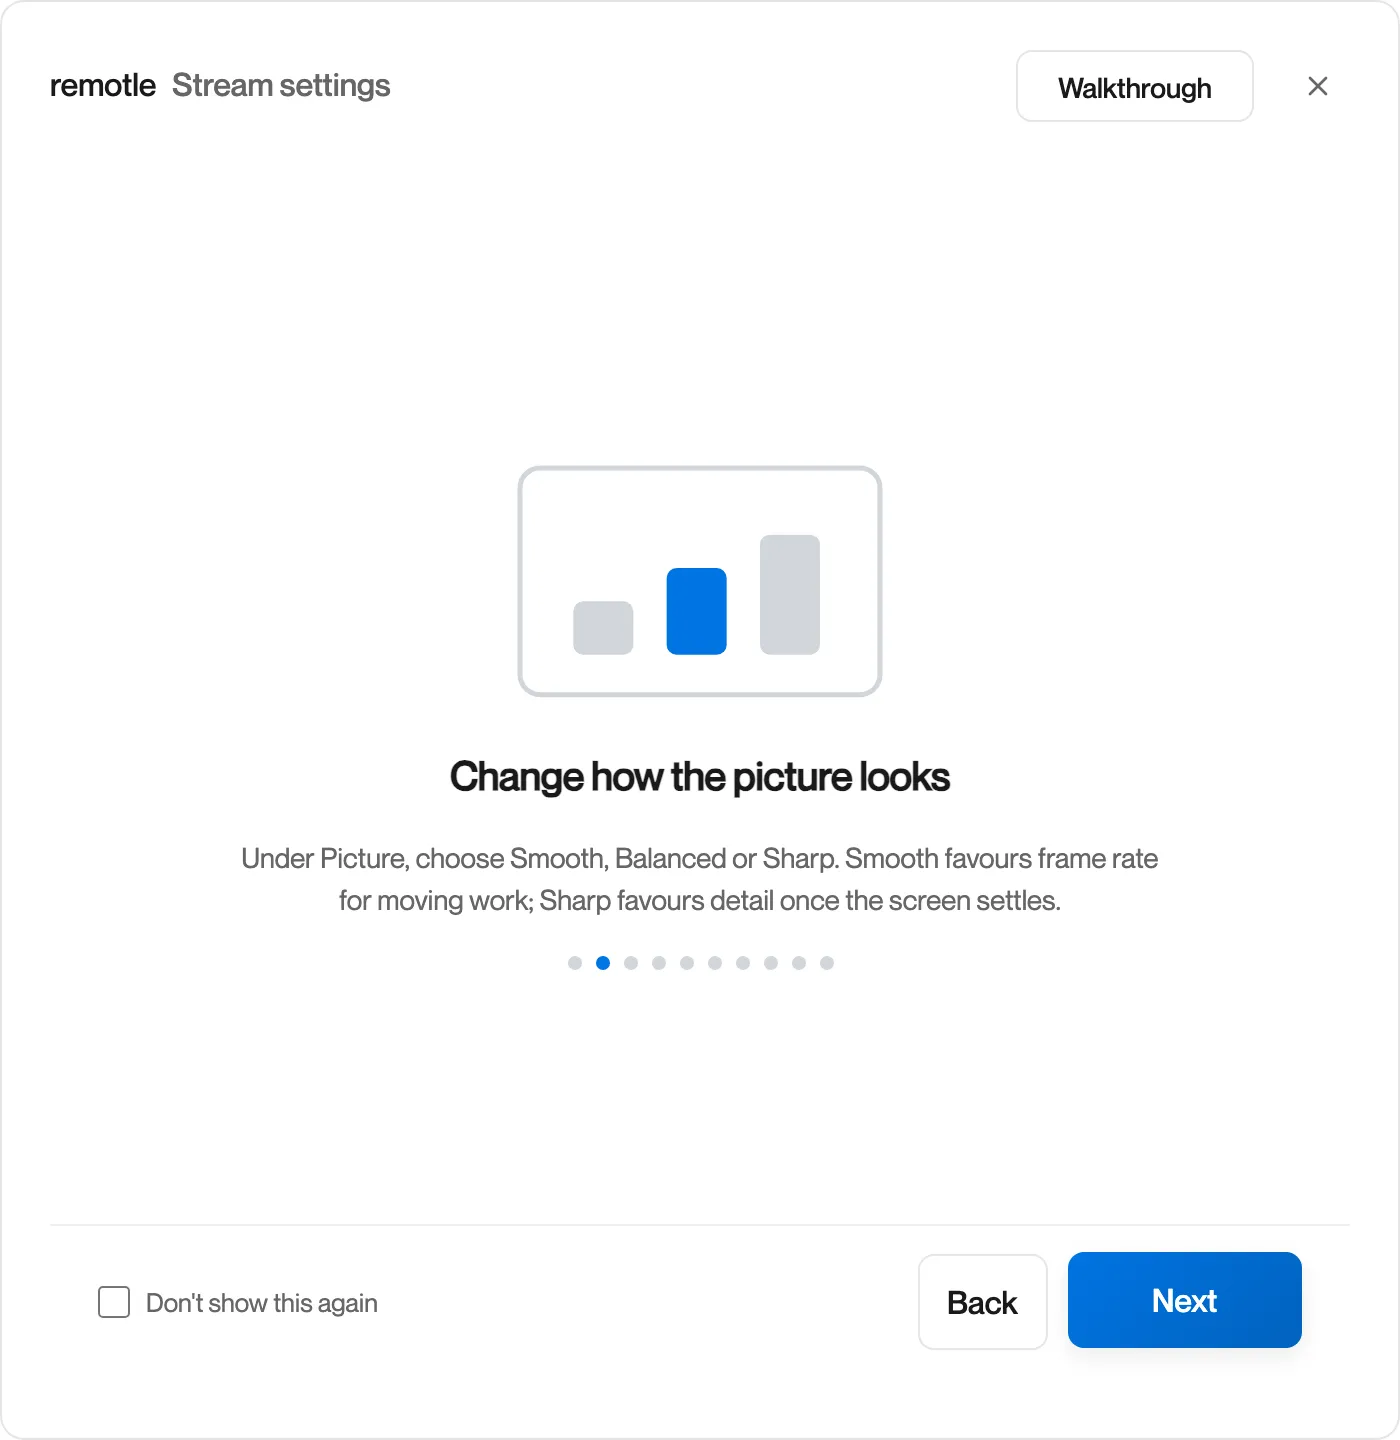
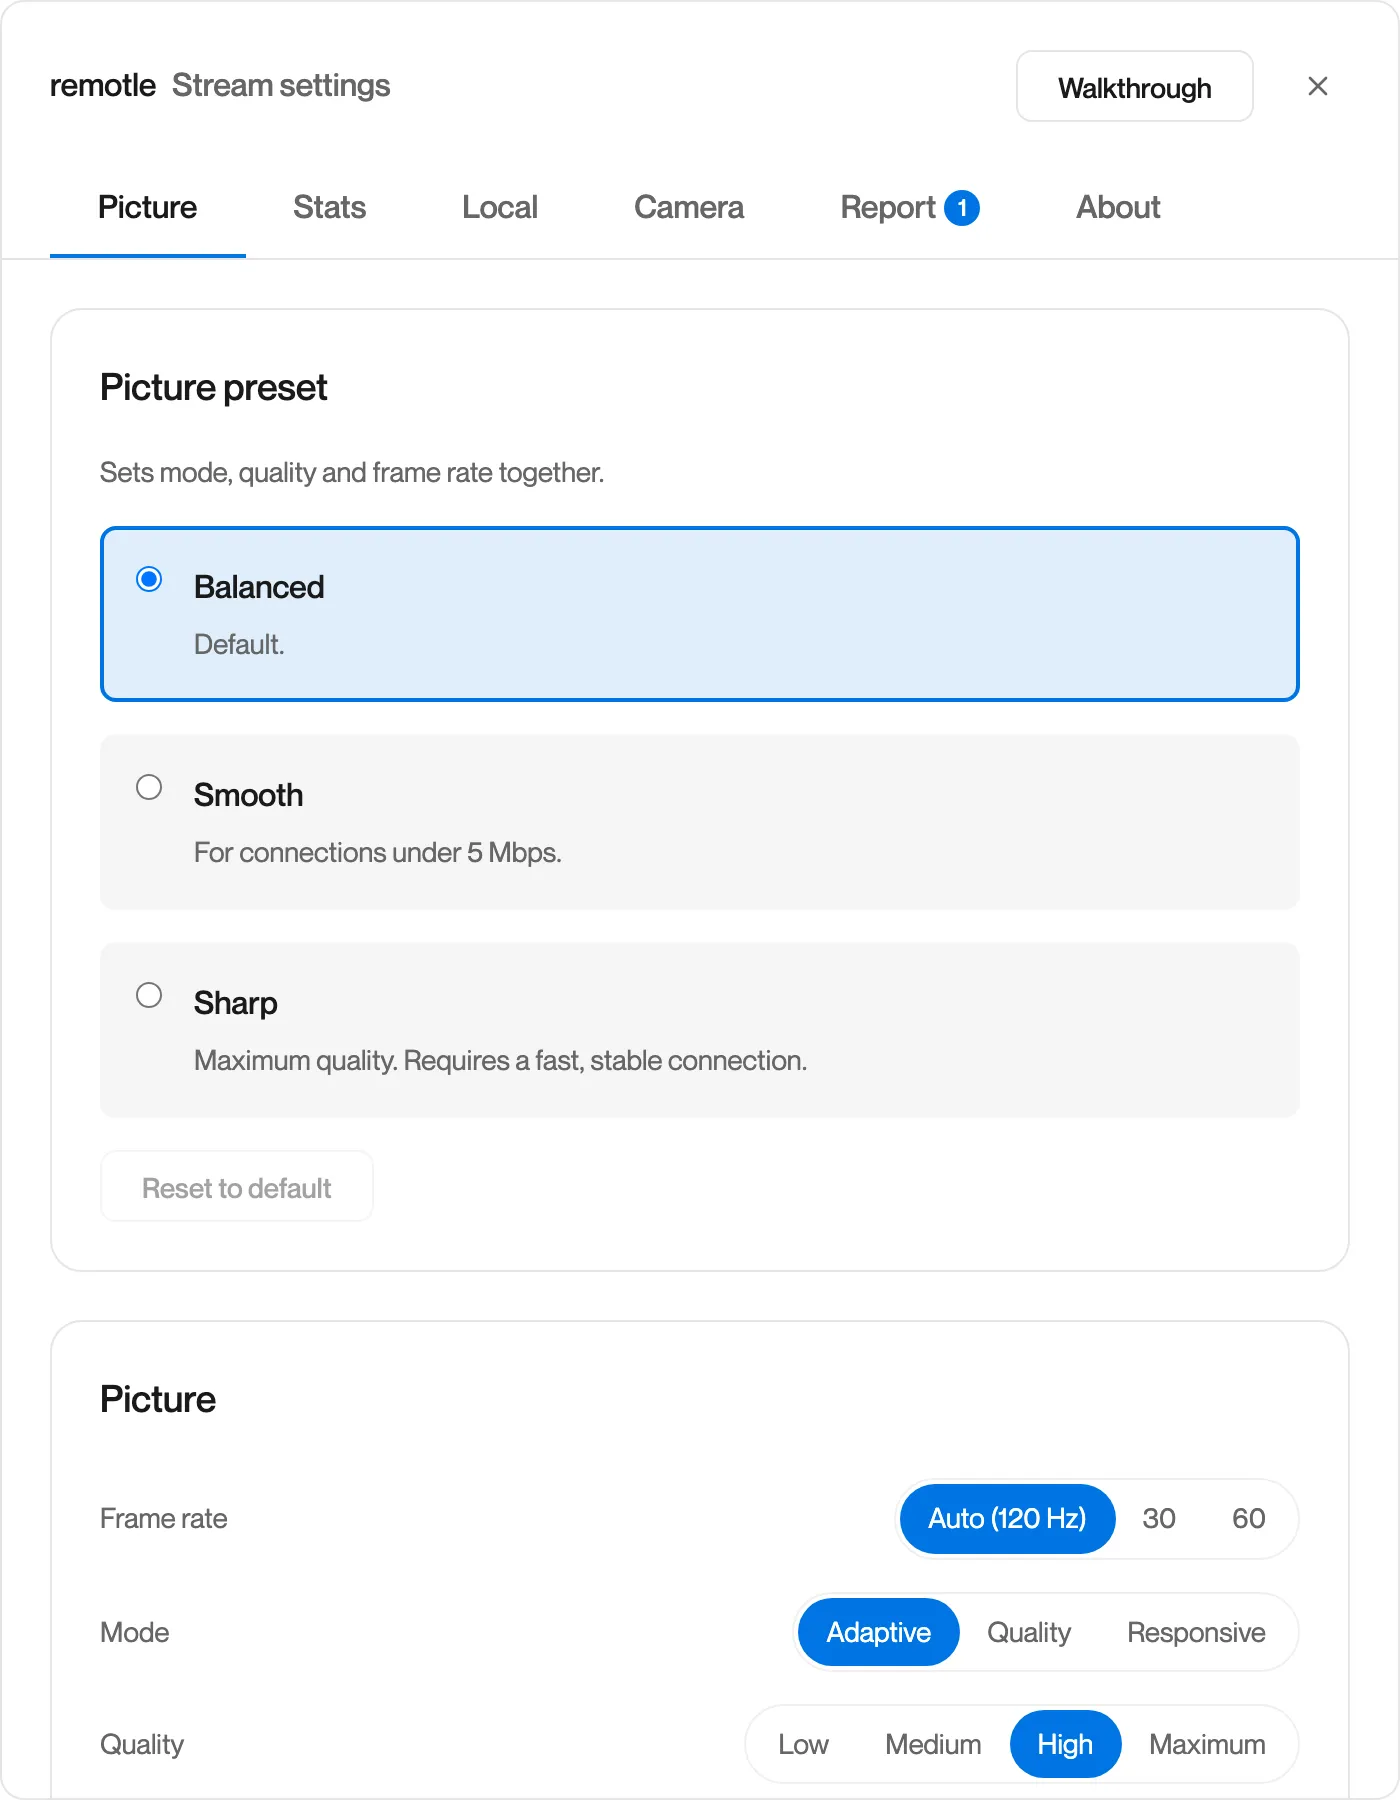
Picture: choose how the picture looks.
Smooth, Balanced or Sharp, and the Frame rate, Mode and Quality controls behind them. See Picture.
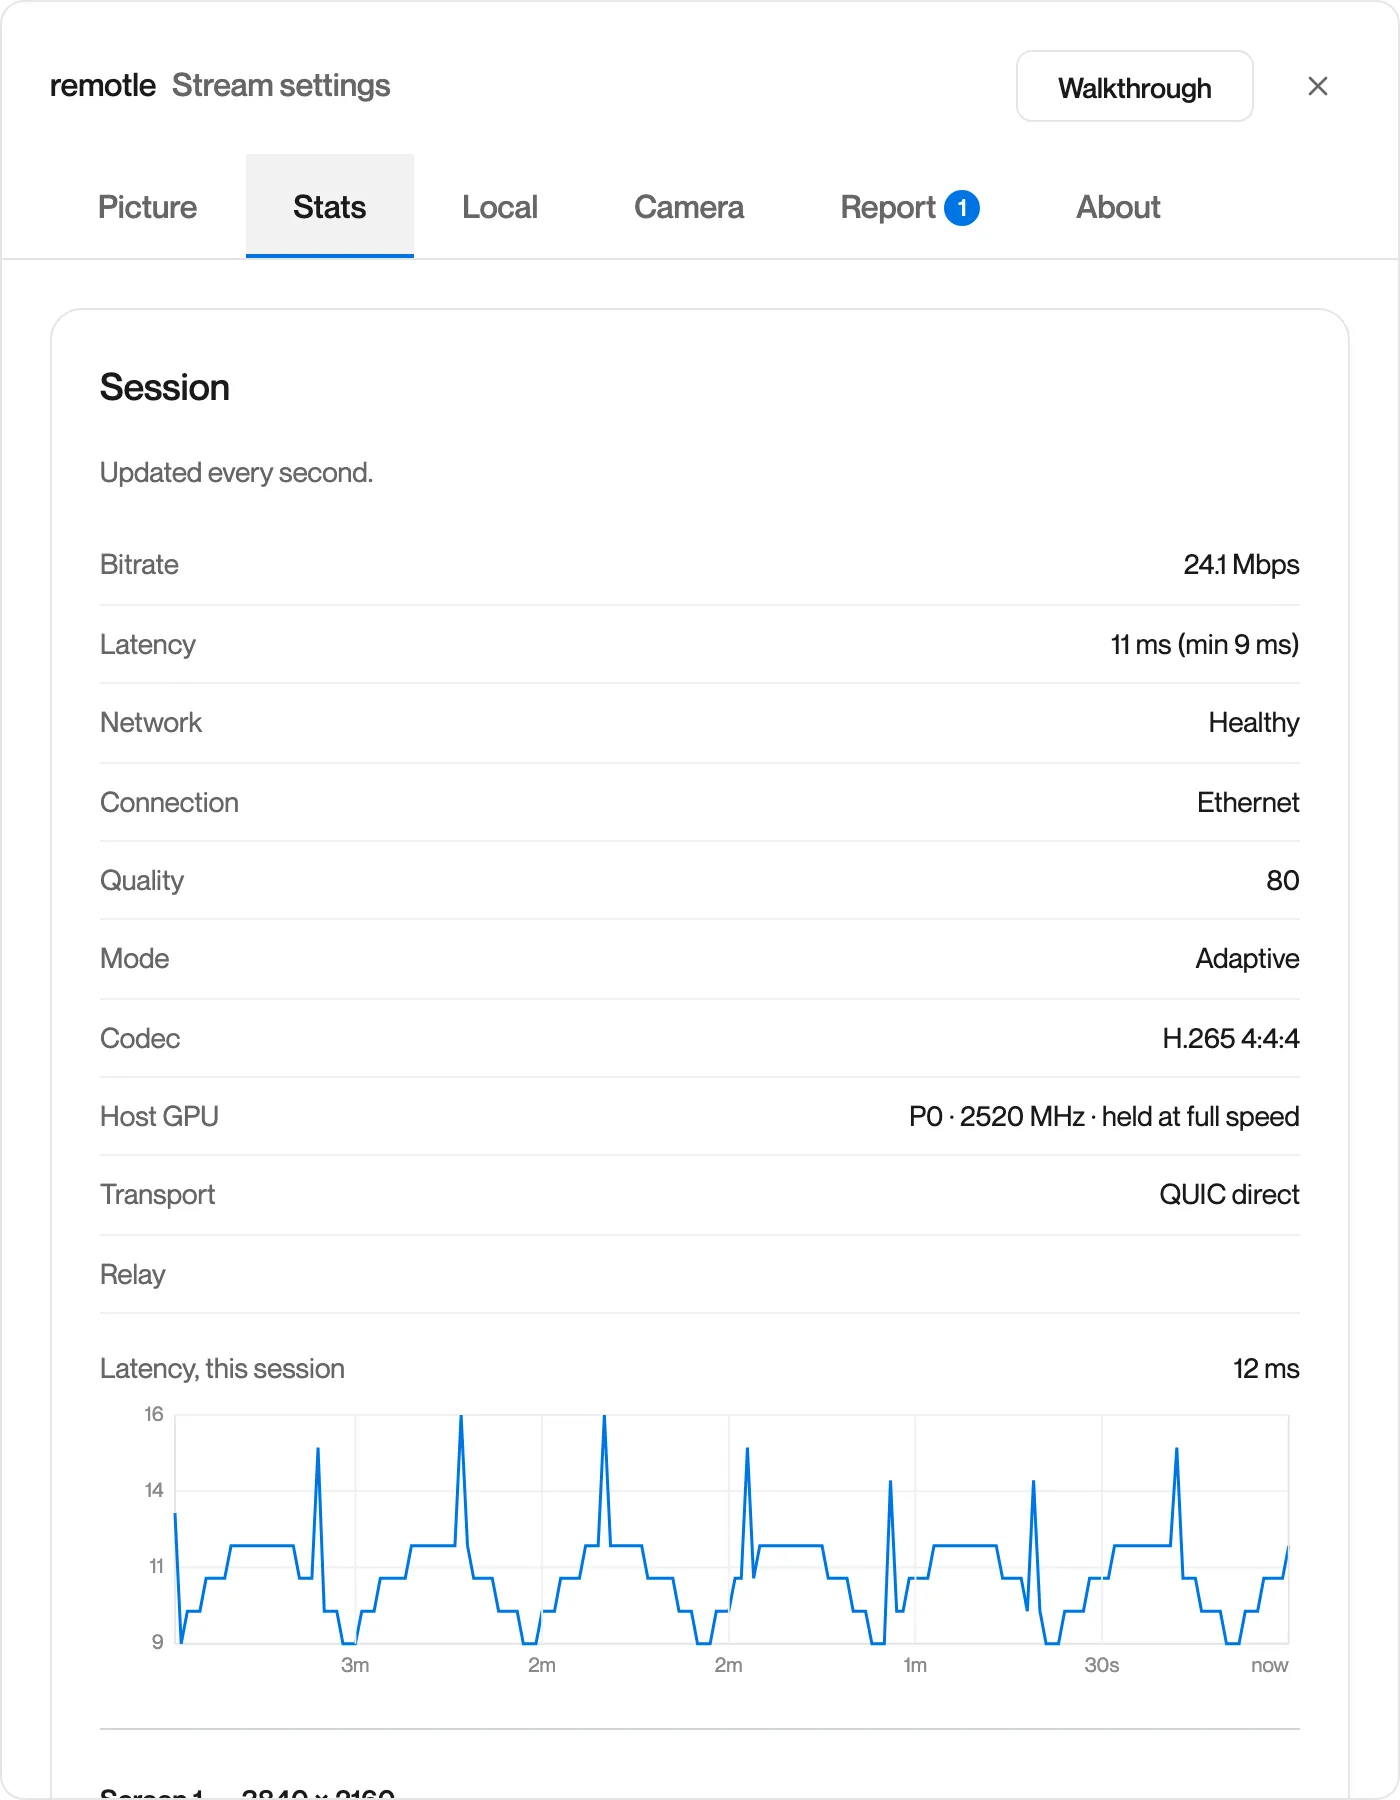
Stats: read the live figures.
Bitrate, latency, network, codec and per-screen figures, with a latency chart for the session. See Stats.
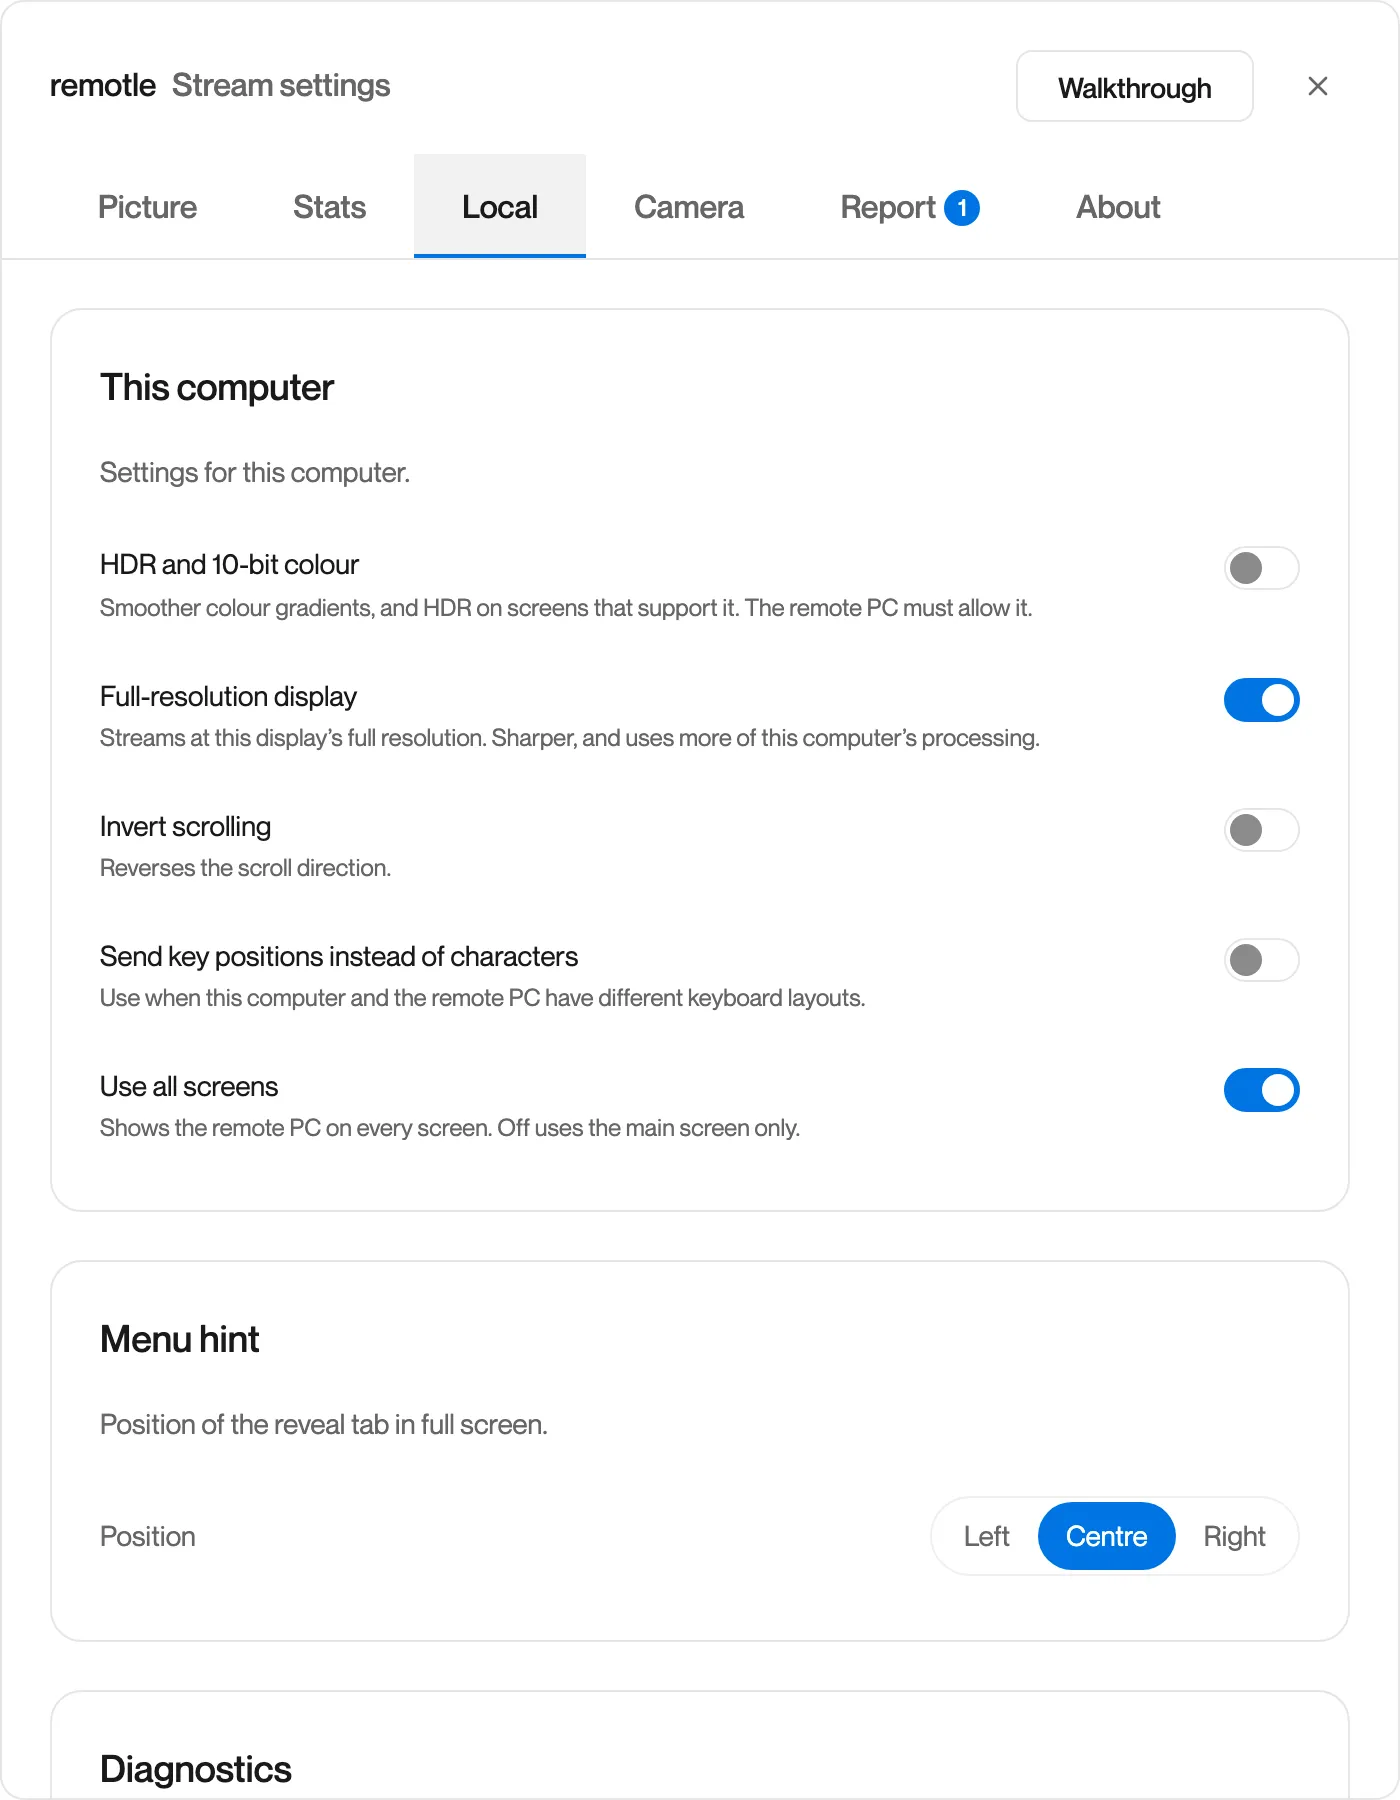
Local: settings for this device.
HDR, full-resolution display, scrolling, key positions, all screens, the menu hint position and diagnostics. See Local.
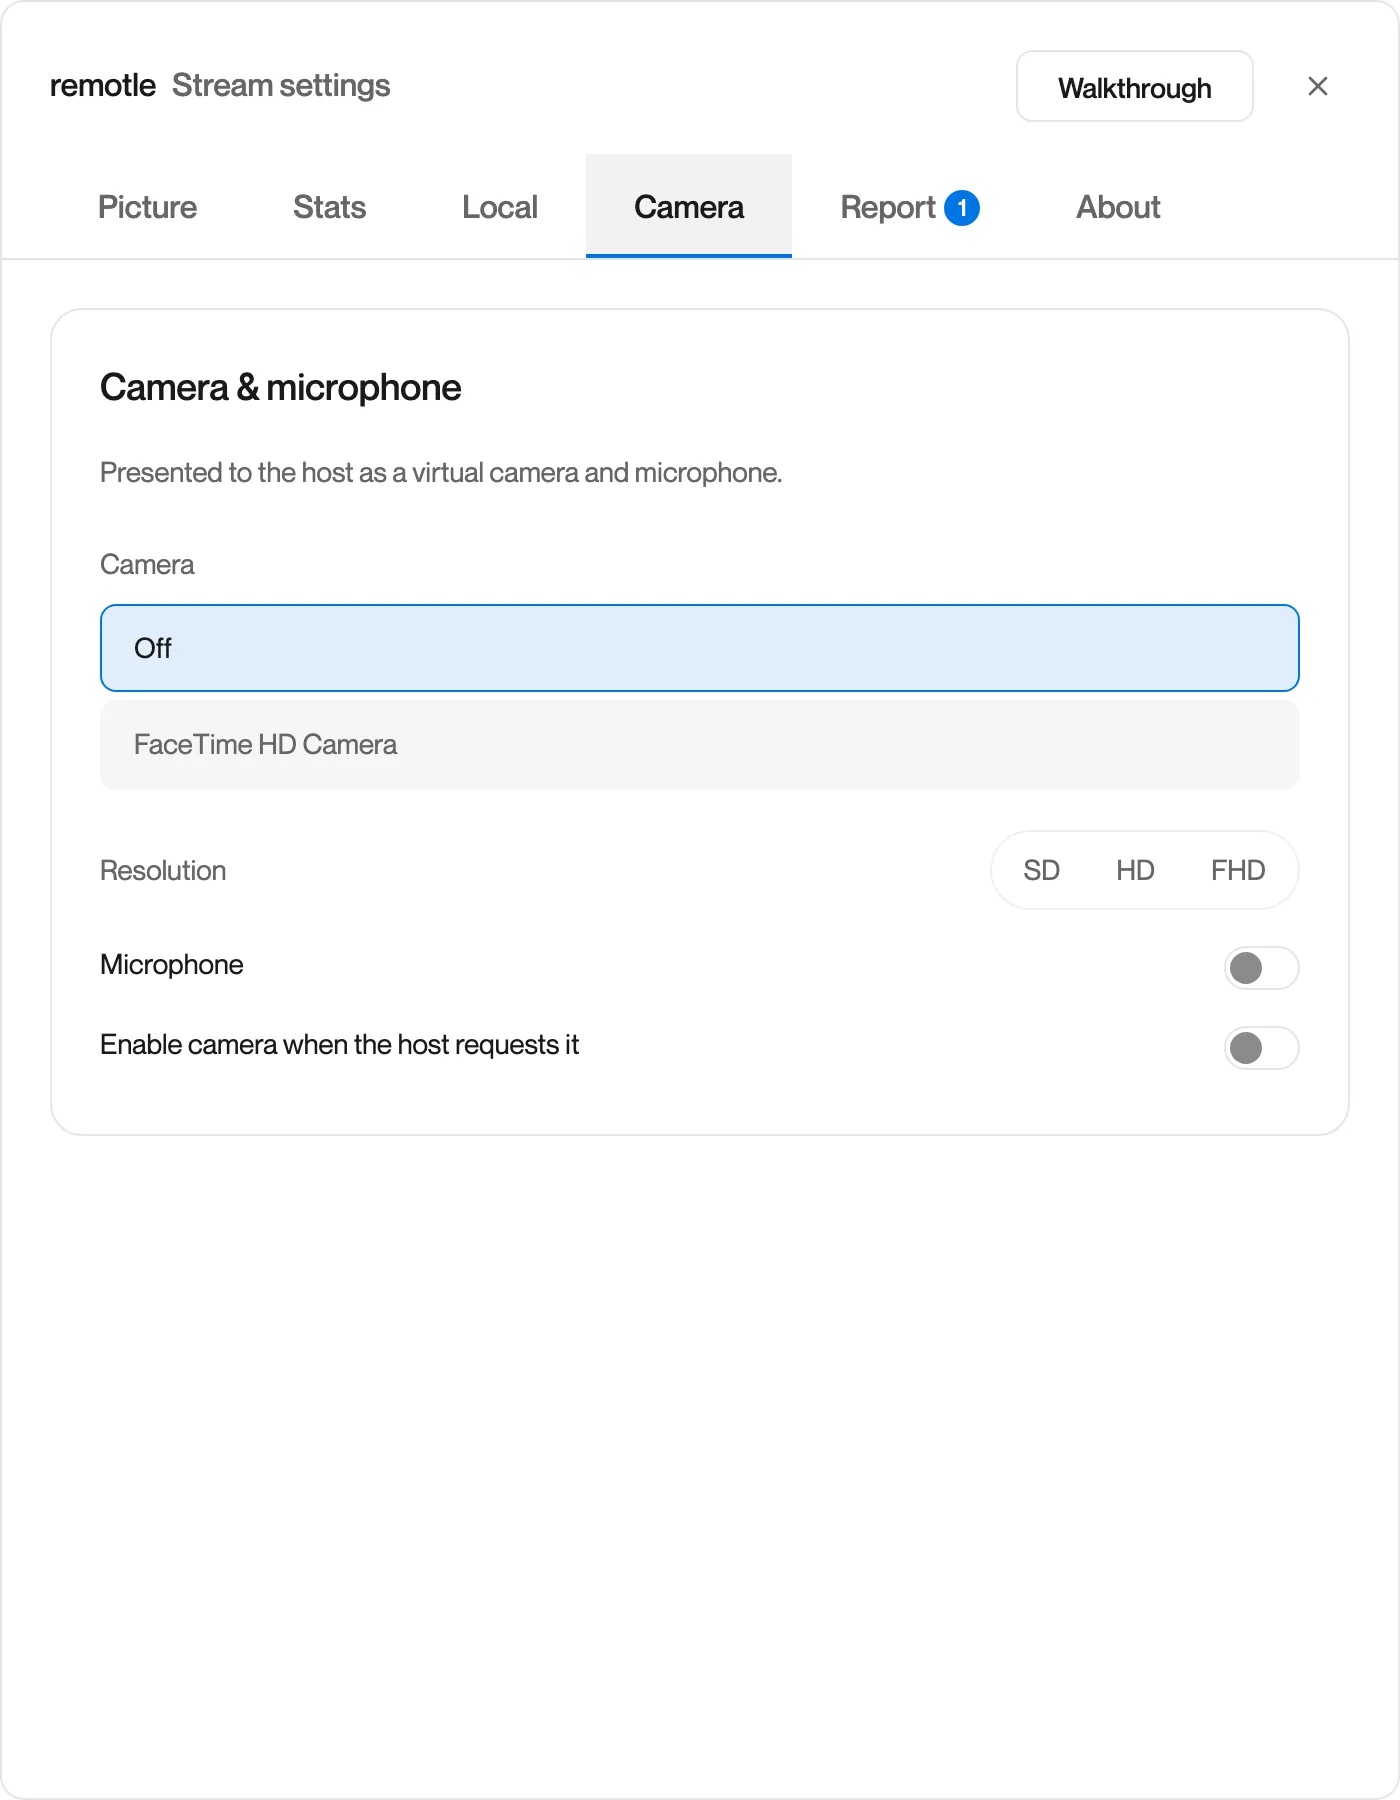
Camera: your camera and microphone on the workstation.
See Camera.
Report: send a problem to Computle.
The report includes this device’s diagnostics and log files. Replies arrive under Your reports. See Report and About.
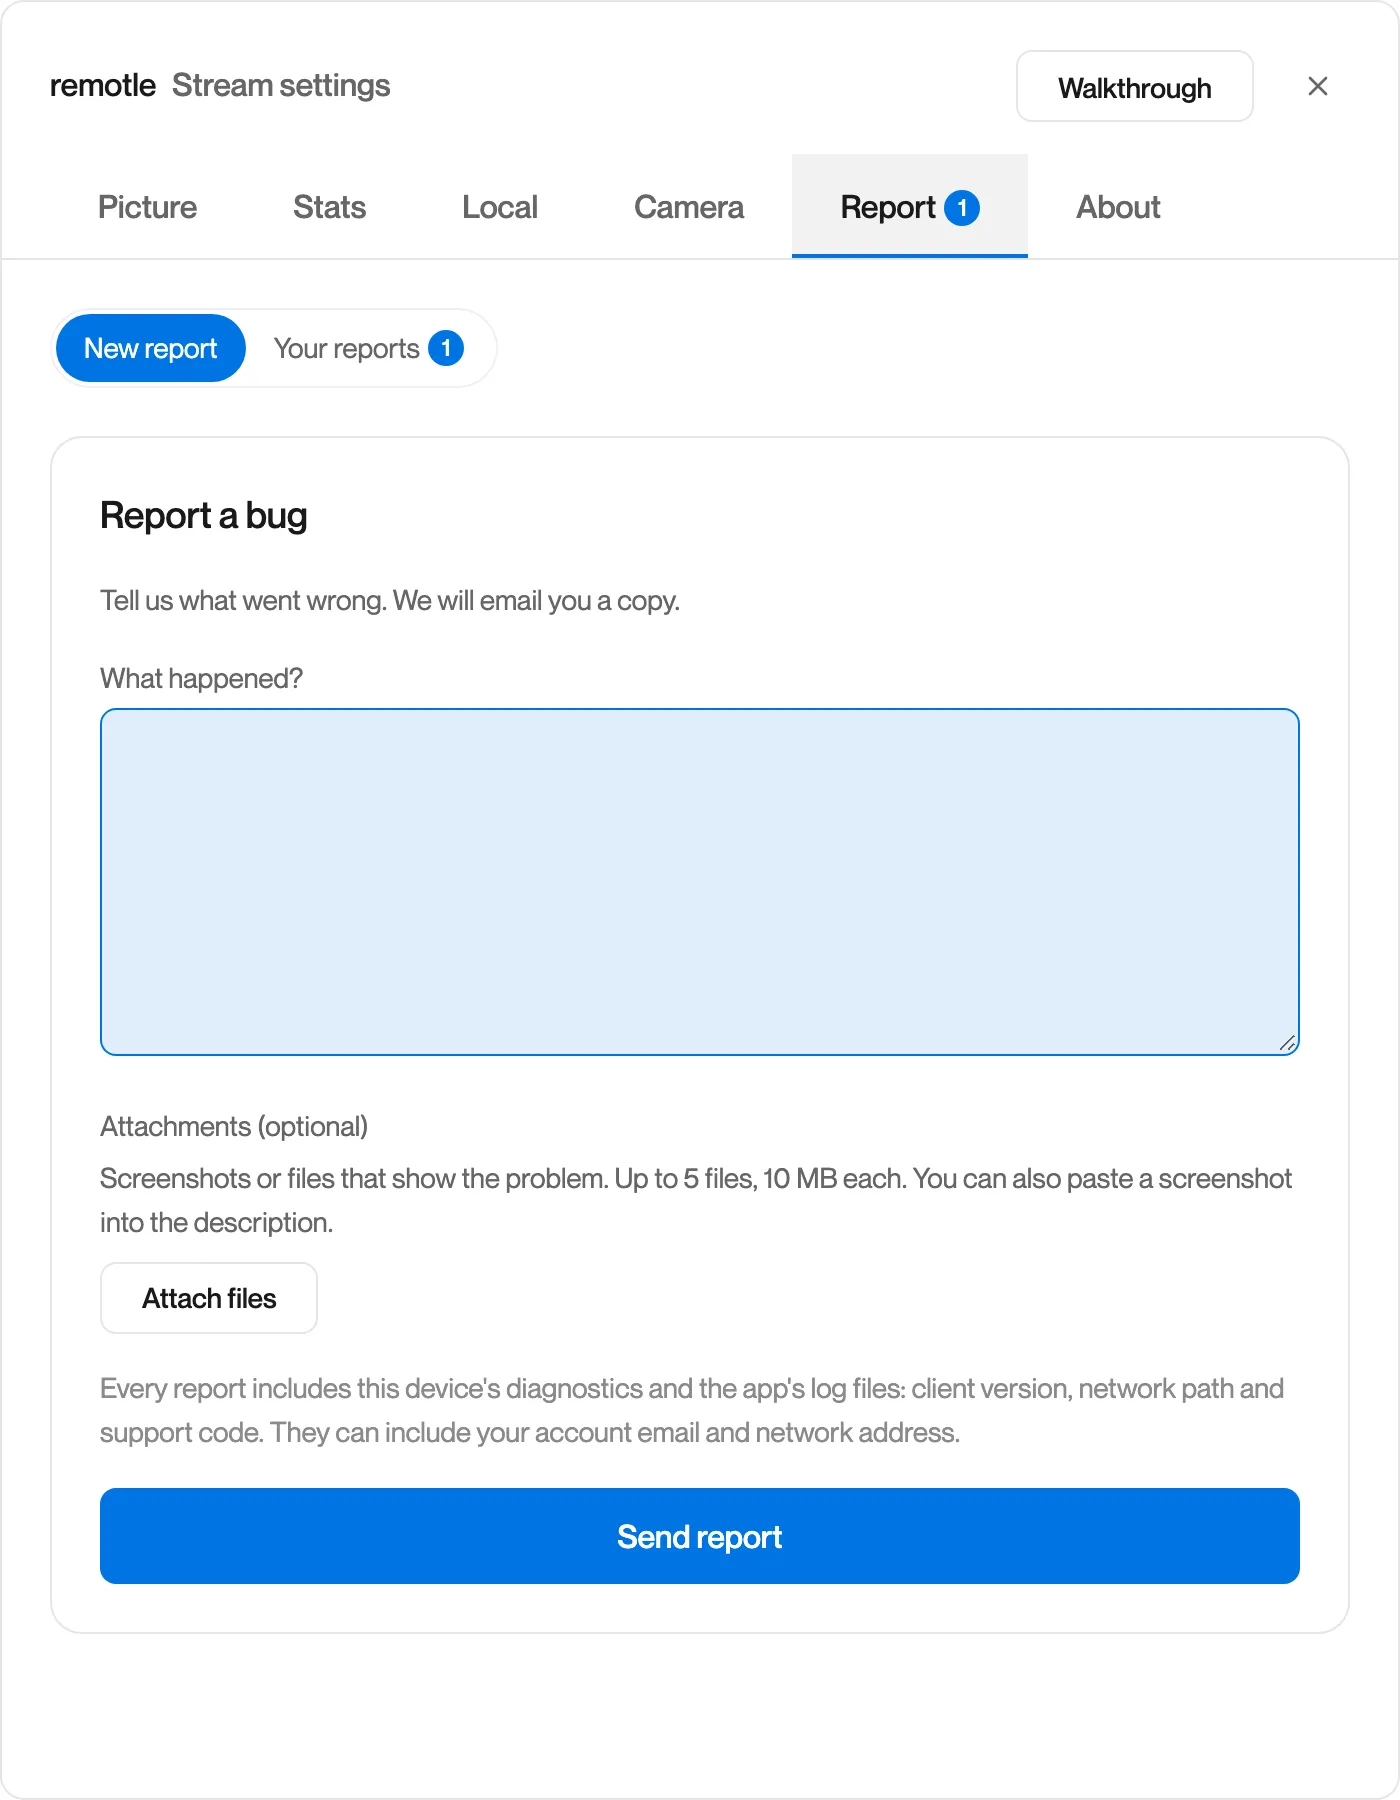
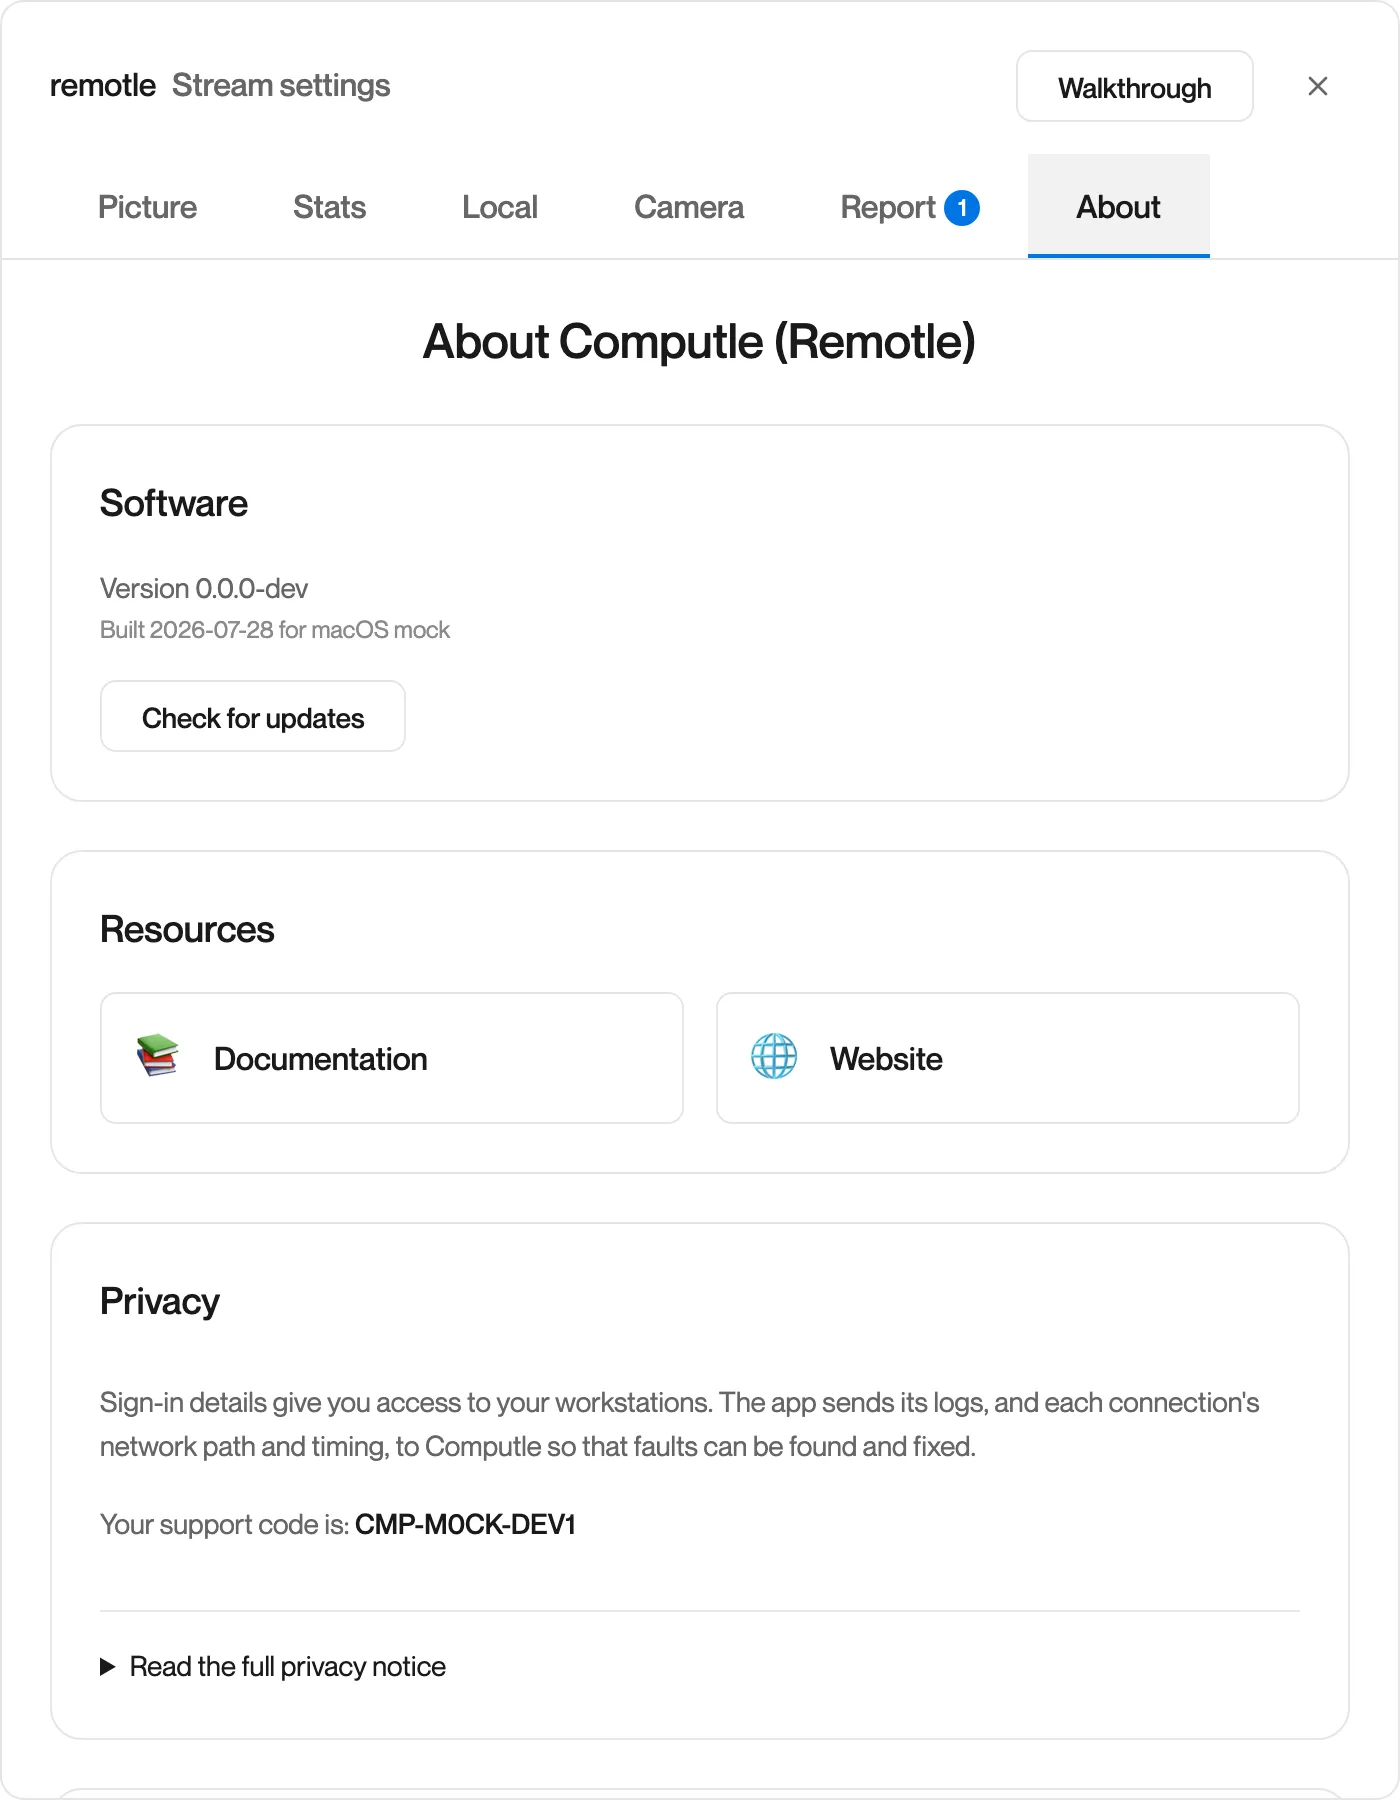
About: your version and support code.
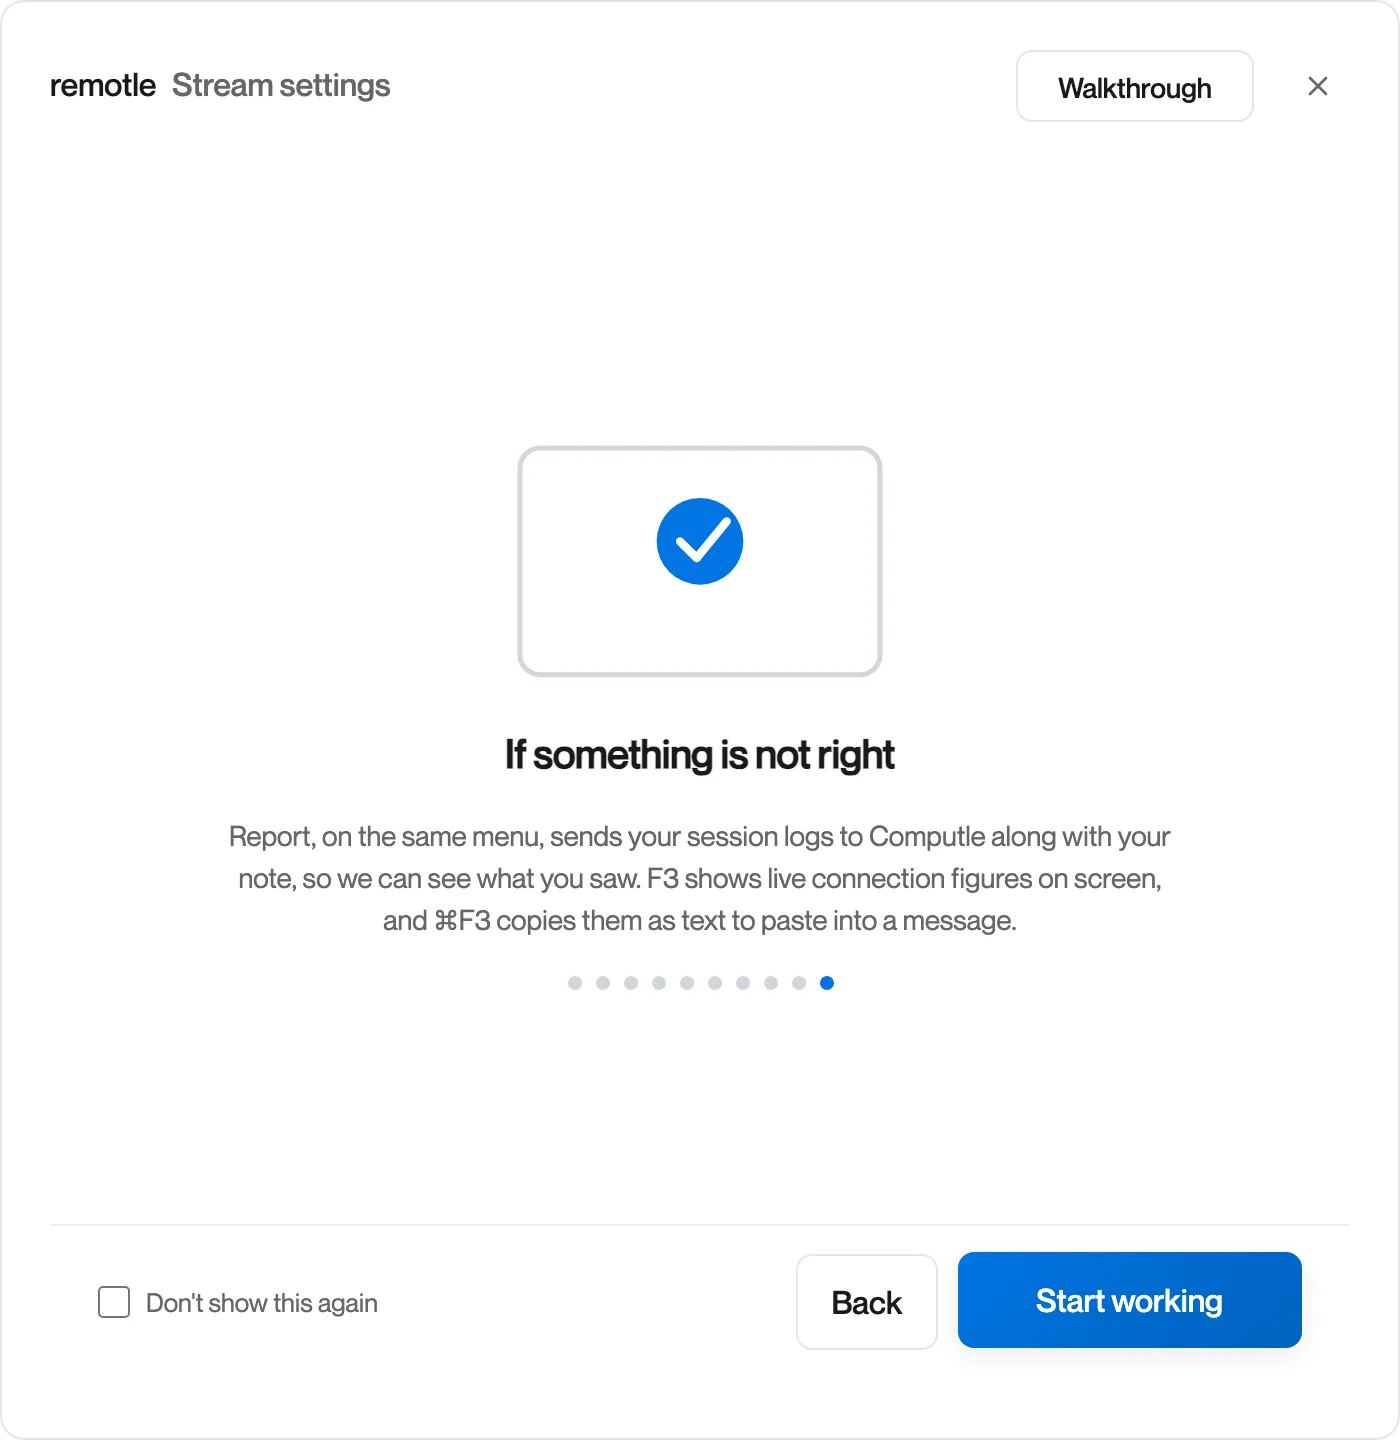
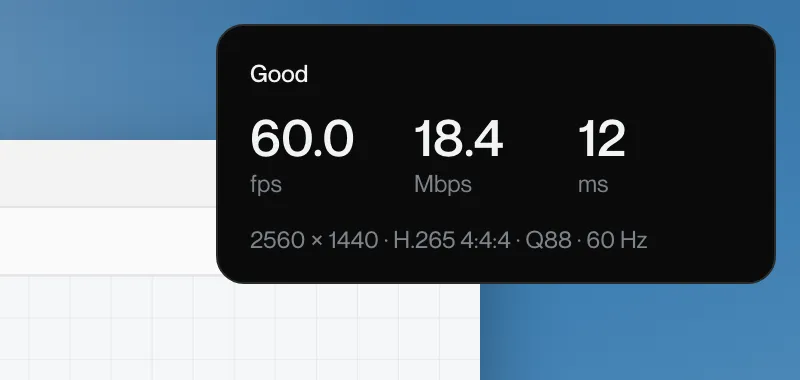
If something is not right, press F3.
The last walkthrough step covers it: Report sends your session logs, F3 shows the connection figures on screen, and Ctrl+F3 (Command+F3 on a Mac) copies them as text. See Connection Figures.
Close the menu.
Press F2 or Esc, or click the × in the corner. On Windows and Mac the menu closes by itself after 30 minutes without being touched.
| Platform | Open | Close |
|---|---|---|
| Windows, Mac and Linux | Press F2, or move your pointer to the top of the screen and click the faint half circle | Press F2 or Esc, or click the × in the corner |
| iPad and iPhone | Tap the menu pill, then Stream settings, or swipe down with three fingers | Tap outside the menu |
To move the half circle, open the Local tab and set Menu hint to Left, Centre or Right. Centre is the default.